


8 Best Free AI Assistant Tools + How to Create One in 2026
Marvin tested eight free AI assistants, including ChatGPT, Gemini, and Perplexity, weighing free access, ease of use, output quality, and everyday task handling.


I spent weeks testing different free AI assistant tools to find the best ones, and learn how quickly you can set up an AI assistant you can text without coding. These are the top 8 tools to consider, along with the simplest way to create an AI assistant in 2026.
What is an AI assistant?
An AI assistant is software that uses artificial intelligence to understand natural language instructions and complete tasks for you. Instead of only answering questions, it connects with your tools, reads information, and performs actions across your workflow.
For example, an AI assistant can review your inbox, summarize important emails, schedule meetings, and track updates from your CRM. You simply tell the assistant what you need in plain language, and it handles the work.
8 best free AI assistants: Quick comparison
For this list, I looked for AI assistants with free trials/plans that work for a wide range of tasks, like writing, research, managing your inbox, calendar assistants, and day-to-day tasks. Here’s how the top 8 tools compare side-by-side:
| Tool | Best for | Starting price (billed monthly) | Key strength | Limitations |
|---|---|---|---|---|
| ChatGPT | Writing, brainstorming, and general tasks | $8/month | Strong all-purpose assistant for everyday questions, drafts, and quick analysis | It often stops at answers instead of taking action |
| Gemini | Google Workspace users | $7.99/month | Works well across Gmail, Docs, Drive, and Android | It loses a lot of value outside Google’s ecosystem |
| Claude | Long-form writing and deep reasoning | $20/month | Clear writing, strong structure, and great document handling | Fewer direct task and app actions than some alternatives |
| Perplexity | Research with sources | $20/month | Fast answers with citations and better source visibility | Less useful for task execution and daily operations |
| Microsoft Copilot | Microsoft 365 users | $9.99/month | Fits naturally into Word, Excel, PowerPoint, Outlook, and Teams | Best features matter most inside Microsoft’s ecosystem |
| Shortwave | Gmail inbox triage | $18/user/month | Thread summaries and fast inbox cleanup | Narrower use case than a full AI assistant |
| Notion | Notes, docs, and internal knowledge | $12/user/month | Helpful inside a Notion-heavy workflow | It works best inside Notion, not across your whole stack |
| Lindy | Handling tasks across your tools | $49.99/month | You can text Lindy to draft emails, schedule meetings, and update connected apps | You’ll get more value after you connect your tools |
How I researched and tested these free AI assistants
I tested these AI assistants based on how people use them for everyday tasks. I looked at how much you can do for free, how easy-to-use each tool is, and whether it helps you get work done or only gives you answers.
Here’s what I paid the most attention to:
- Free access: I checked whether each tool gives you a true free plan, a limited free version, or a trial that runs out fast.
- Ease of use: I looked at how quickly you can start using the assistant without a long setup process.
- Output quality: I tested how well each tool handled common questions, summaries, writing tasks, and follow-up prompts.
- Task handling: I compared which assistants can take action across your tools and which ones mostly stay inside the chat window.
- Daily usefulness: I focused on whether the tool saves time in real work, not only in demos.
- Upgrade pressure: I watched for tools that feel useful for five minutes, then hit hard limits unless you pay.
These criteria made it easy for me to spot the differences. Some assistants stood out for writing or research, while others did a better job helping you manage your inbox, meetings, and everyday admin work.
Let’s explore all of them in detail.
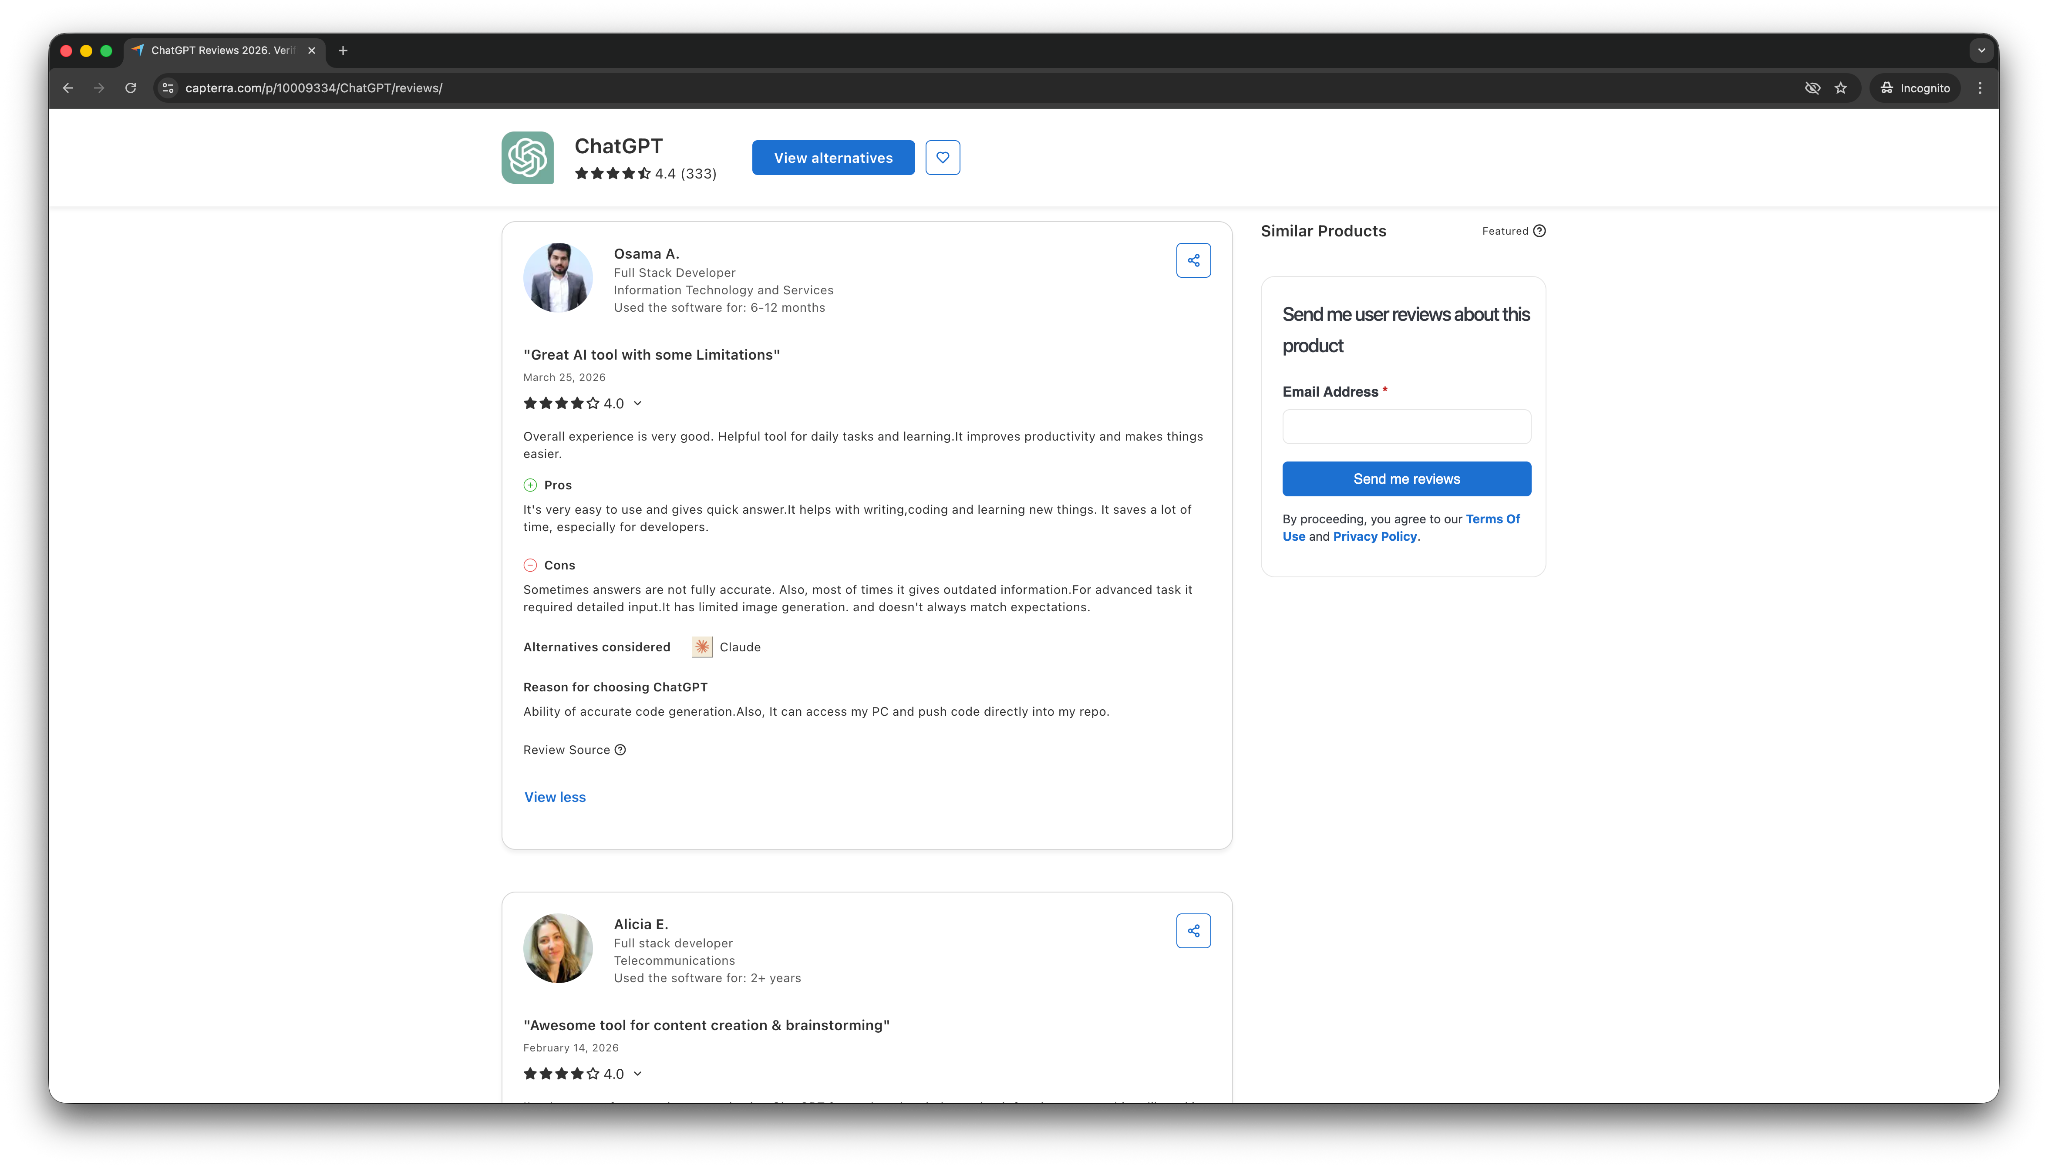
1. ChatGPT: Best for writing, brainstorming, and general tasks
What it does: ChatGPT is a general-purpose AI assistant that helps with writing, summaries, brainstorming, research, and quick problem-solving.
Best for: Anyone who wants a flexible, free AI assistant for everyday questions, content drafts, and light analysis.

ChatGPT still sets the baseline for general AI assistants. You open it, type what you need, and get a useful response fast. For tasks like writing an email, summarizing a document, cleaning up notes, or thinking through an idea, ChatGPT gives you a solid first draft without much setup.
It also handles a wider mix of tasks than many specialized assistants. However, it stops at the answer and cannot take action. ChatGPT doesn’t feel like a true work assistant unless you pair it with other tools or build a more connected setup around it.
Key features
- Strong all-purpose chat: ChatGPT works well for writing, summaries, brainstorming, and quick answers across many topics.
- Good free-tier value: Casual users can get a lot out of the free version without paying right away.
- Useful file handling: You can upload documents and ask for summaries, rewrites, and structured outputs.
- Custom GPTs and repeatable helpers: It supports mini-assistants for recurring tasks, which helps when you want a more repeatable setup.
- Multimodal experience: ChatGPT also offers voice, image, and file support for different needs.
Pros
- One of the easiest free AI assistants to start using right away
- Handles a wide range of everyday tasks well
- Strong free option for writing, summarizing, and brainstorming
Cons
- Gives answers rather than handling work across your tools
- Need to fact-check important claims and numbers
What users say
- “I have been able to create projects, personal and professional. I have prepared a script, and I consider this tool has helped my productivity. When I need to write something, it helps me to brainstorm and unlock the writing.” — Stefanny J, Capterra
- “Sometimes answers are not fully accurate. Also, most of the time, it gives outdated information.” — Osama A, Capterra
ChatGPT is useful across many workflows as it’s versatile. It also offers a free tier that covers a lot for casual users. That lines up with how most people use it, for quick help, fast drafts, and everyday questions, and not deep operational work.
Pricing
- Free plan with limited use
- Paid plans from $8/month, billed monthly
Bottom line
Choose ChatGPT if you want the best free AI assistant for general use. It works well for writing, brainstorming, summaries, and quick problem-solving. You may need to look elsewhere if you need a tool to take action across your inbox, calendar, or CRM.
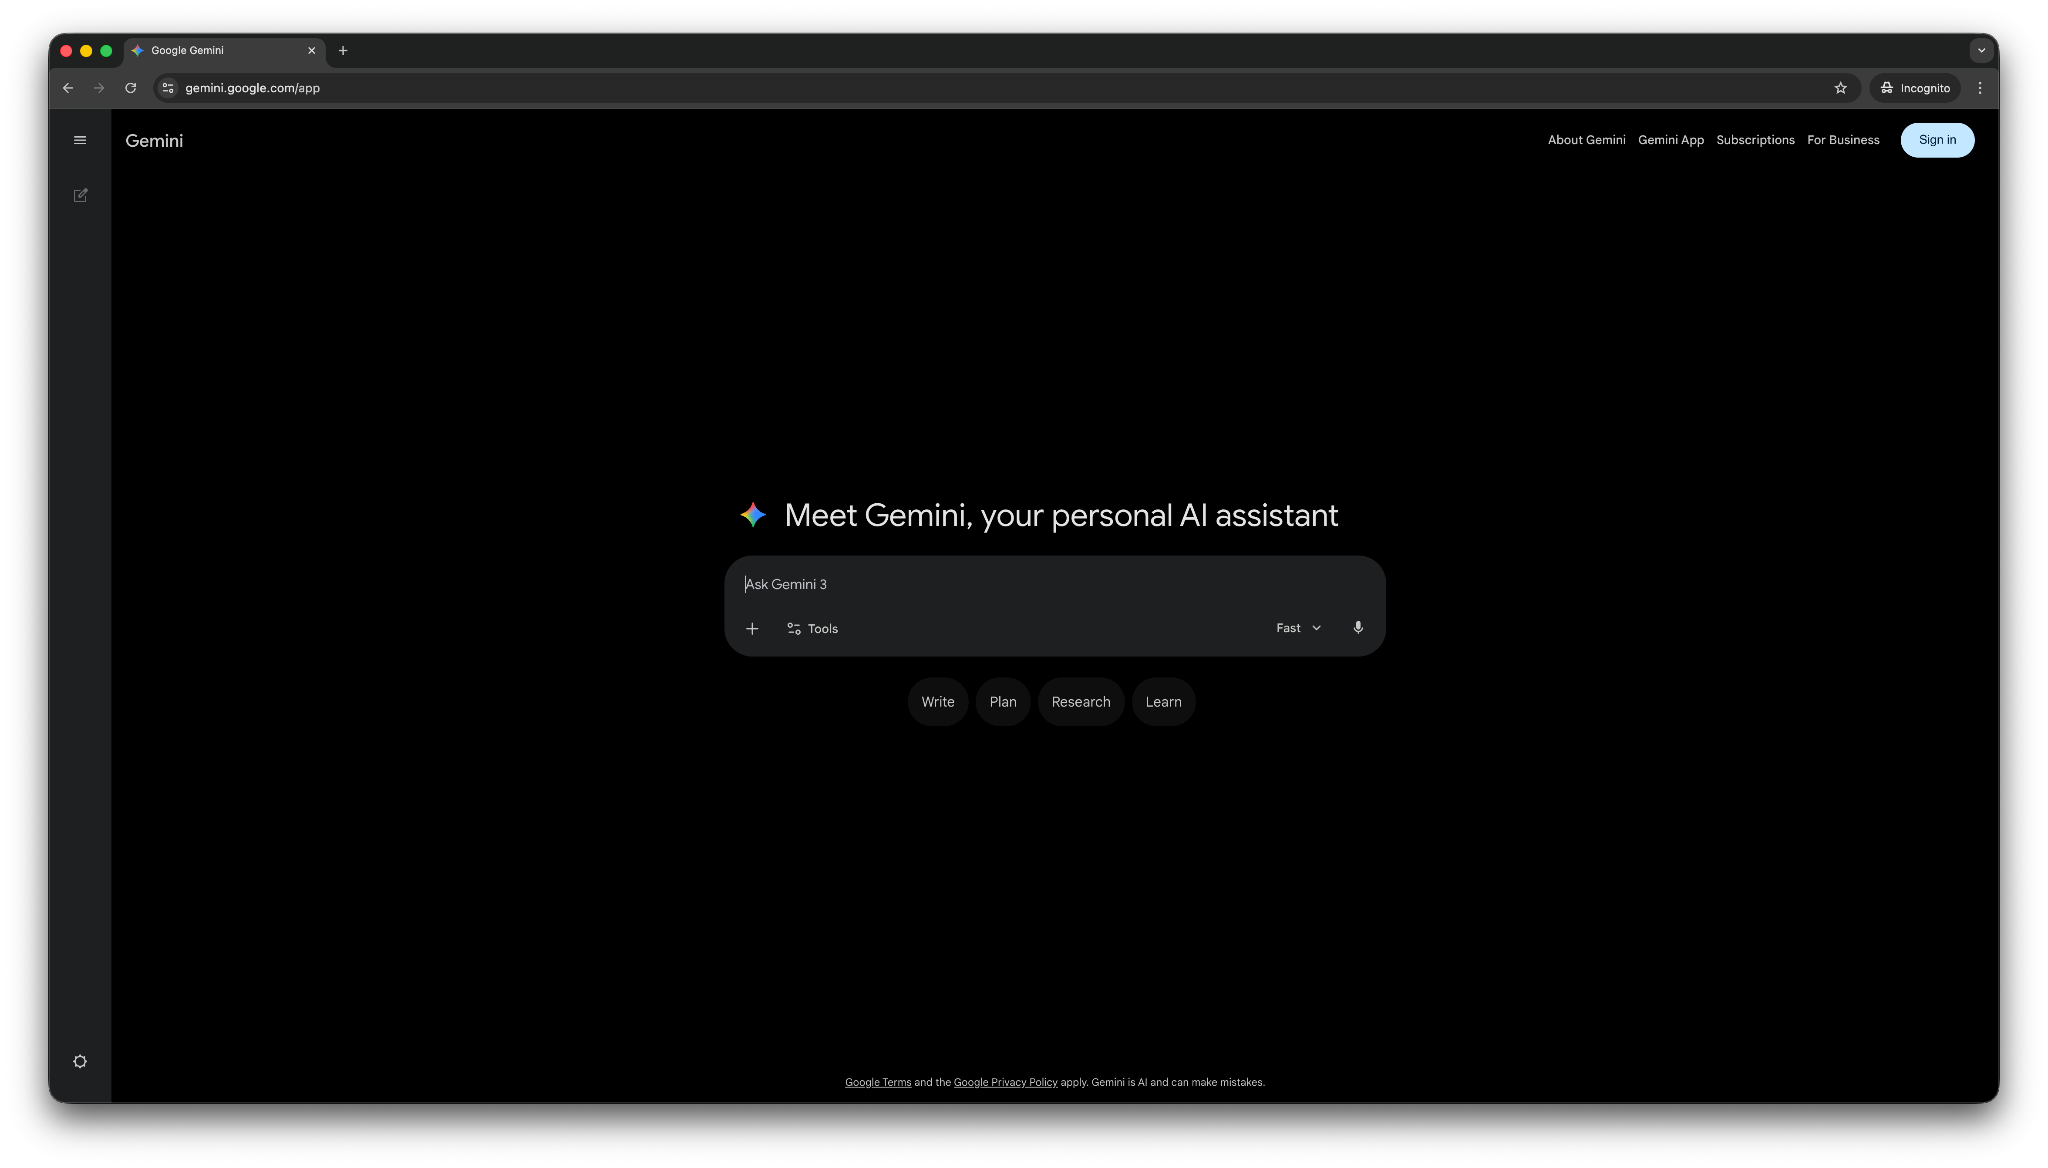
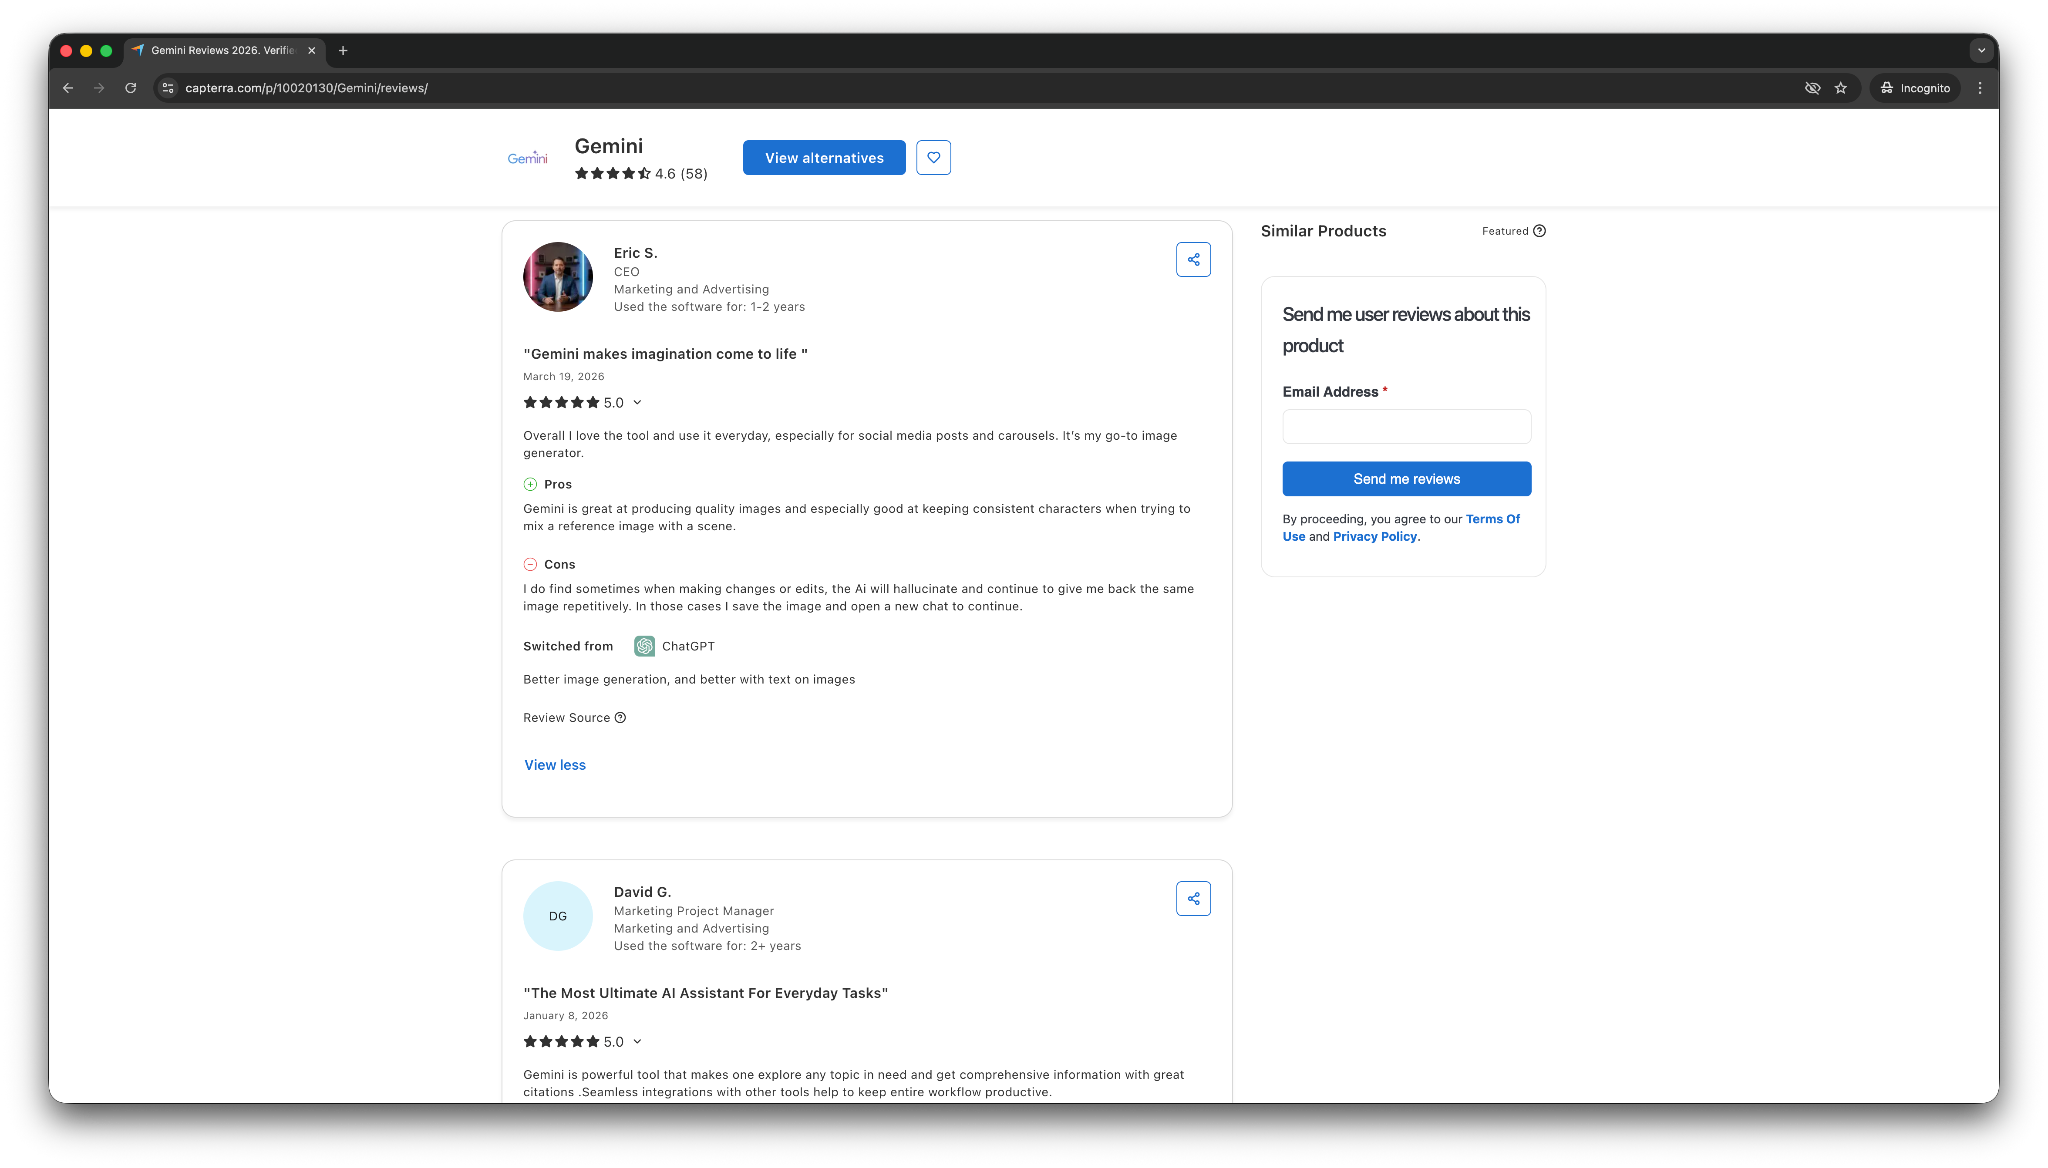
2. Gemini: Best free AI assistant for Google Workspace users
What it does: Gemini is Google’s AI assistant for writing, summaries, research, and quick task help across Gmail, Docs, Drive, and other Google tools.
Best for: People who already spend most of their day in Google Workspace or on Android devices.
Gemini makes the most sense when your work already lives inside Google. You can use it to summarize emails, pull details from documents, draft content in Docs, and work across Drive without jumping between too many tools.
That tight Google fit also creates its biggest limitation. Gemini loses a lot of value when you do not rely on Google tools every day. If you use Outlook, Dropbox, or a more mixed stack, Gemini starts to feel less special.
Its standalone chat is still useful, but its advantage comes from context inside Google Workspace, not from beating every other assistant on raw output.
Key features
- Strong Google Workspace integration: Gemini works across Gmail, Docs, Sheets, Slides, Meet, and Drive, which makes everyday tasks easier inside Google’s ecosystem.
- Helpful for quick summaries and drafting: You can use it to summarize emails, pull information from documents, and draft content without leaving Google apps.
- Useful on Android and Google devices: Gemini is voice-first and mobile-friendly, especially helpful for Android users.
- File and context support: Gemini handles uploads and long documents well, which helps when you need help with larger files.
- Custom mini-assistant support: Gemini includes “Gems,” which give you lighter customization for repeat tasks.
Pros
- Great fit for Gmail, Docs, Drive, and the rest of Google Workspace
- Cuts down on context switching inside Google’s tools
- Strong free option for people who already use Google every day
Cons
- It loses much of its edge outside Google’s ecosystem
- You still need to double-check facts and outputs for important work
What users say
- “I can send Gemini off to do online research for me (via the deep dive research feature) and synthesize results masterfully for me to review, and discuss topics that I need help deciding/reasoning about.” — Ryan R, Capterra
- “I do find sometimes when making changes or edits, the AI will hallucinate and continue to give me back the same image repetitively. In those cases, I save the image and open a new chat to continue.” — Eric S, Capterra
Gemini earns high marks when people use Google Workspace heavily. If Google already runs a big part of your workday, Gemini feels convenient and fast. If not, the advantage drops off quickly.
Pricing
- Free plan with your Gmail account
- Paid plans from $7.99/month, billed monthly
Bottom line
Go with Gemini if you want a free AI assistant that fits neatly into Google Workspace. It works best for people who live in Gmail, Docs, Drive, and Android. If your work involves many non-Google tools, you will likely get more value from another assistant in this list.
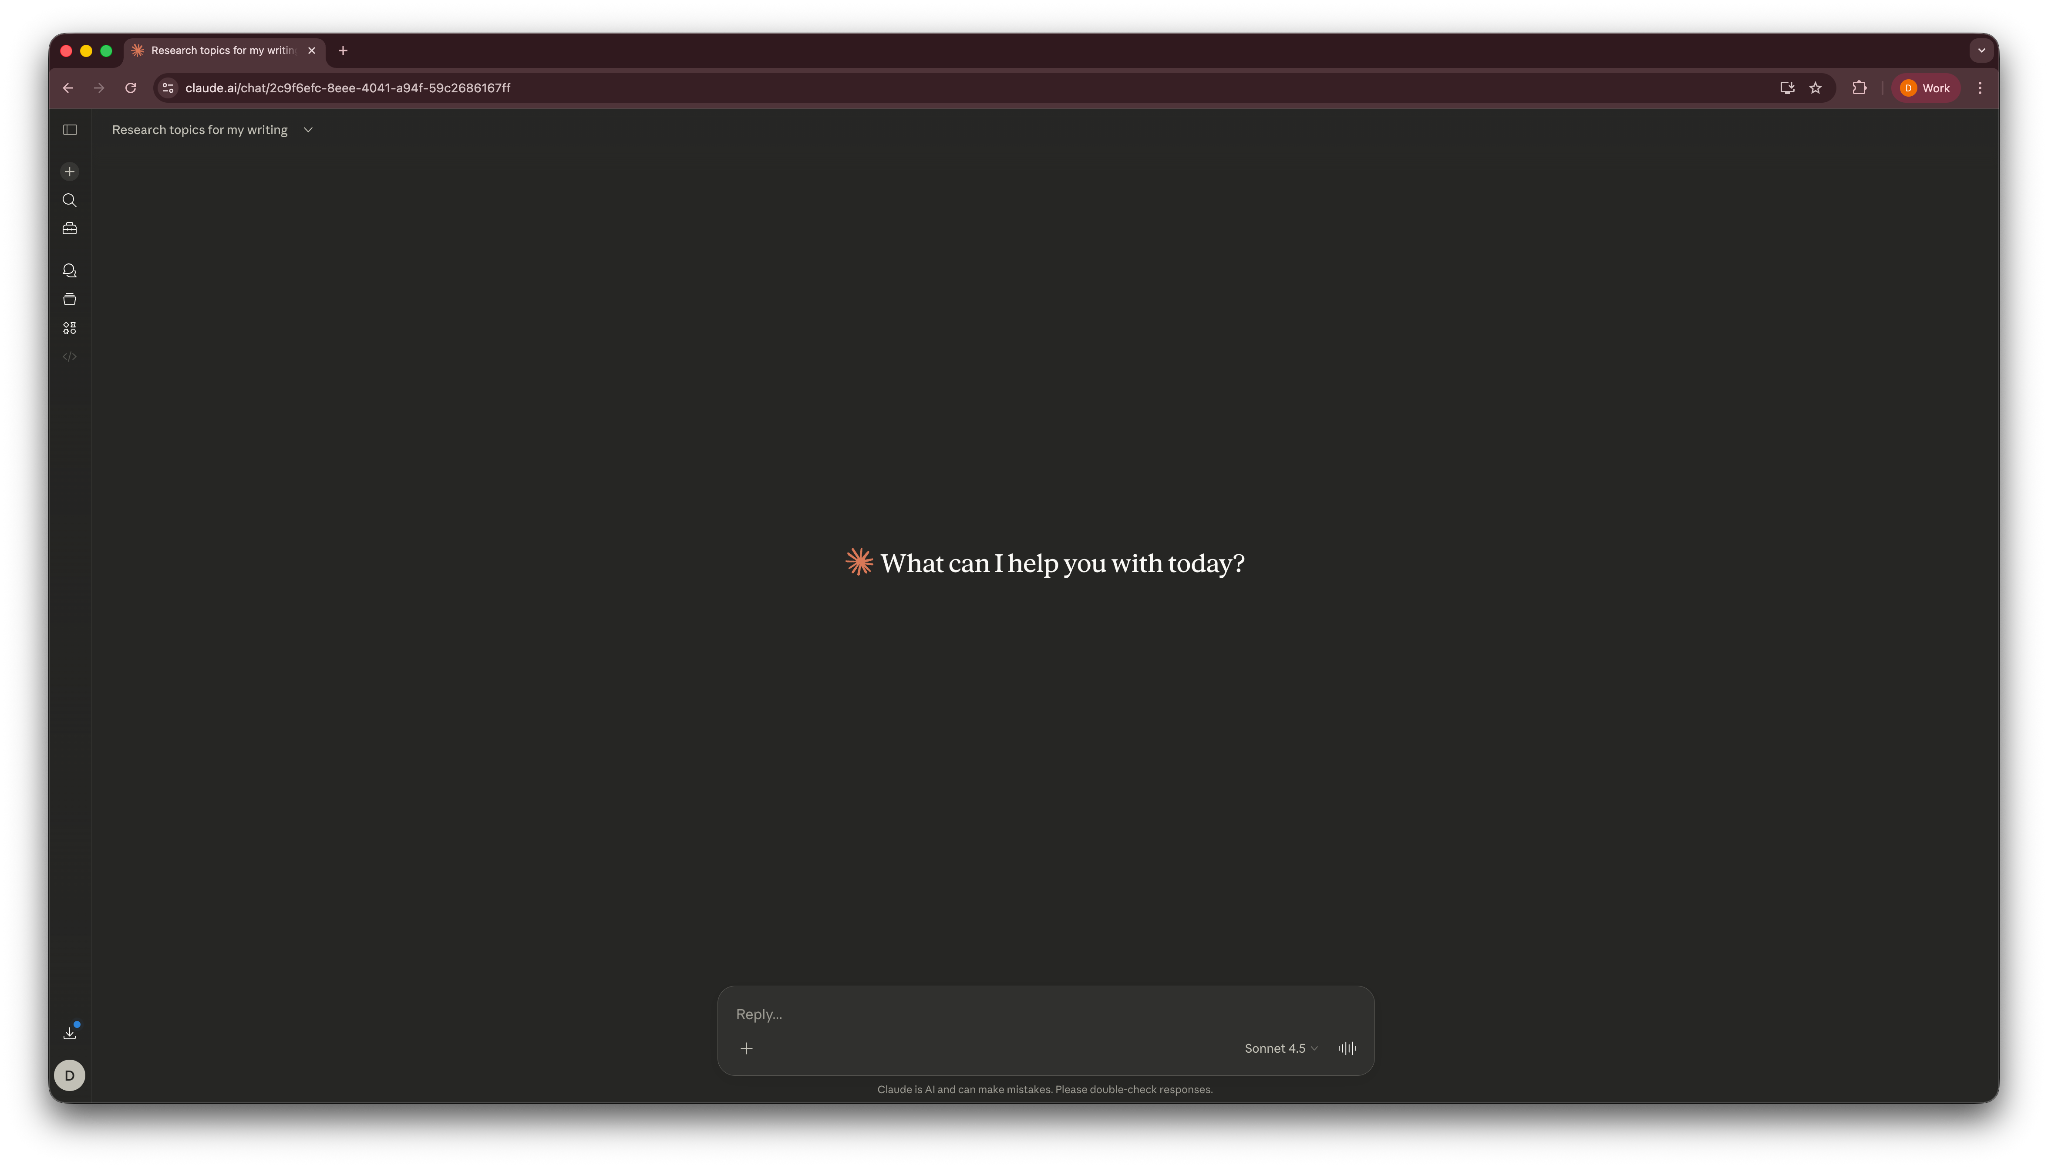
3. Claude: Best for long-form writing and deep reasoning
What it does: Claude is an AI assistant that helps with writing, analysis, document review, and thoughtful problem-solving across longer tasks.
Best for: People who care most about clear writing, strong structure, and working through large documents or complex ideas.
Claude stands out when the task needs more depth than speed. It tested it and it handled long documents well, kept its structure steady, and wrote in a cleaner, calmer way than most assistants.
It also feels less cluttered than some competitors. When I think about who should use Claude, I think of someone reviewing a long PDF, cleaning up a rough article draft, or working through a messy idea that needs shape.
The downside is that Claude stays stronger in thinking and writing than in taking action. It does not match a more task-oriented assistant when you want help across your inbox, meetings, or business tools.
Key features
- Strong long-form writing: Claude handles essays, reports, and detailed drafts with better structure than many general assistants.
- Great with long documents: You can upload large files and ask Claude to summarize, analyze, or reason through them in detail.
- Projects and organized context: Claude’s project-style workspaces helps keep files and chats together during longer tasks.
- Useful for research and careful analysis: It works well when you need a more thoughtful answer instead of a fast, lightweight one.
Pros
- Excellent for long-form writing, editing, and document analysis
- Handles large files and complex prompts well
- Often produces cleaner structure and more careful reasoning than generalist tools
Cons
- Less useful than task-focused assistants for inbox, calendar, or workflow work
- Lacks some multimodal and action-oriented features people may expect from a broader assistant
What users say
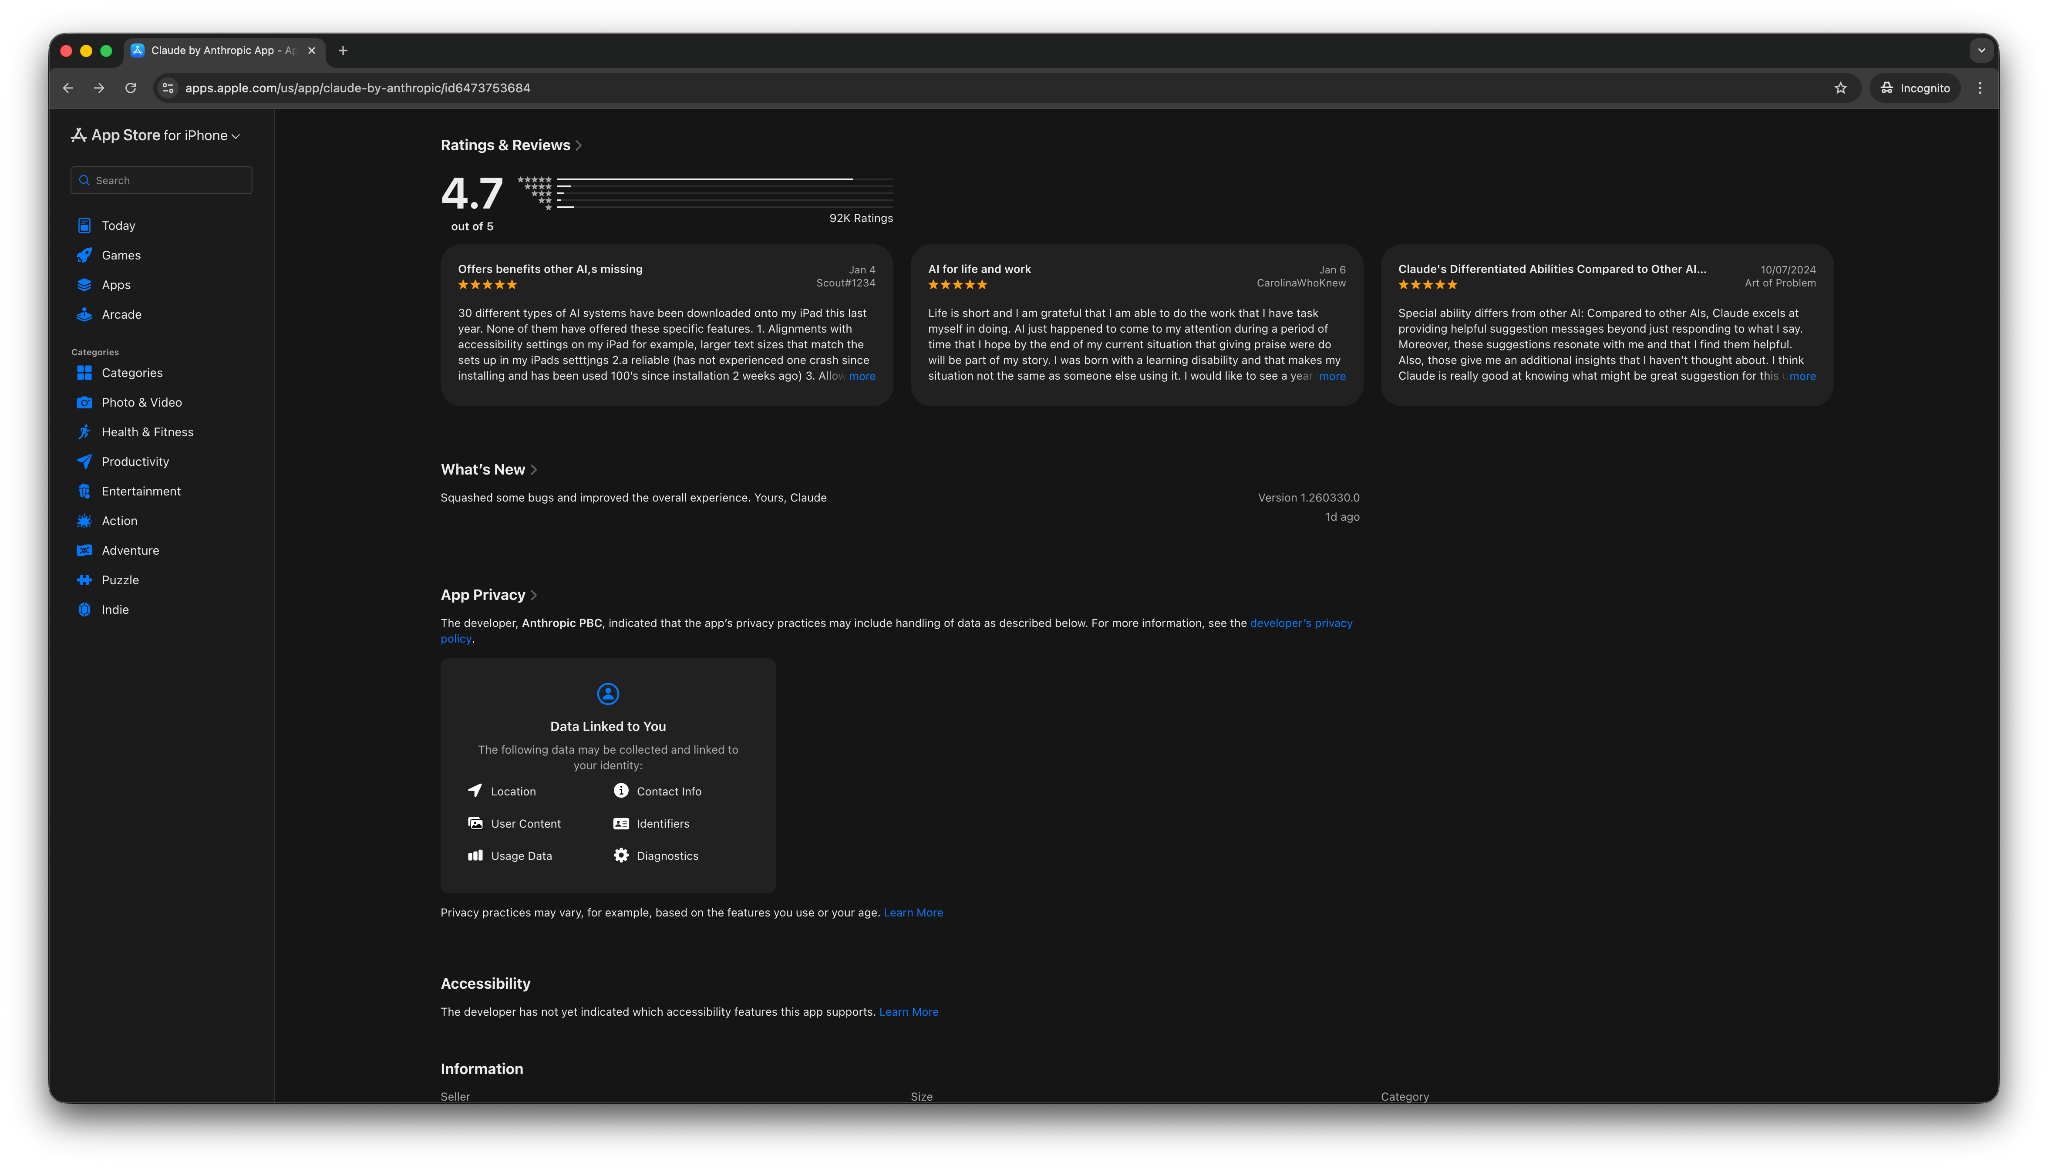
- “The output is nicely formatted, and it's able to determine what format suits the best. Still playing with it, but so far it's impressive.” — Verified User, App Store
- “I use Claude, but the connectors don't load at all. So, I use the web version. Also when I ask Claude, it replies that it couldn't connect to Claude and asks me to check my network.” — Verified User, App Store
Claude gets the most praise from people who care about writing quality and depth. Users find it useful for careful drafting and long-context work, with strong reasoning and a less robotic writing style.
Pricing
- Free plan with limited usage and often an inferior model
- Paid plans from $20/month, billed monthly
Bottom line
Choose Claude if you want a free AI assistant for deep writing, careful summaries, and long-document analysis. It does not try to be your inbox manager or operations assistant. It wins when the work needs clarity, structure, and stronger reasoning.
4. Perplexity: Best for research tasks with sources
What it does: Perplexity is an AI assistant built for research, fact-finding, and source-backed answers.
Best for: People who want fast answers with citations instead of a standard chat response with no clear source trail.
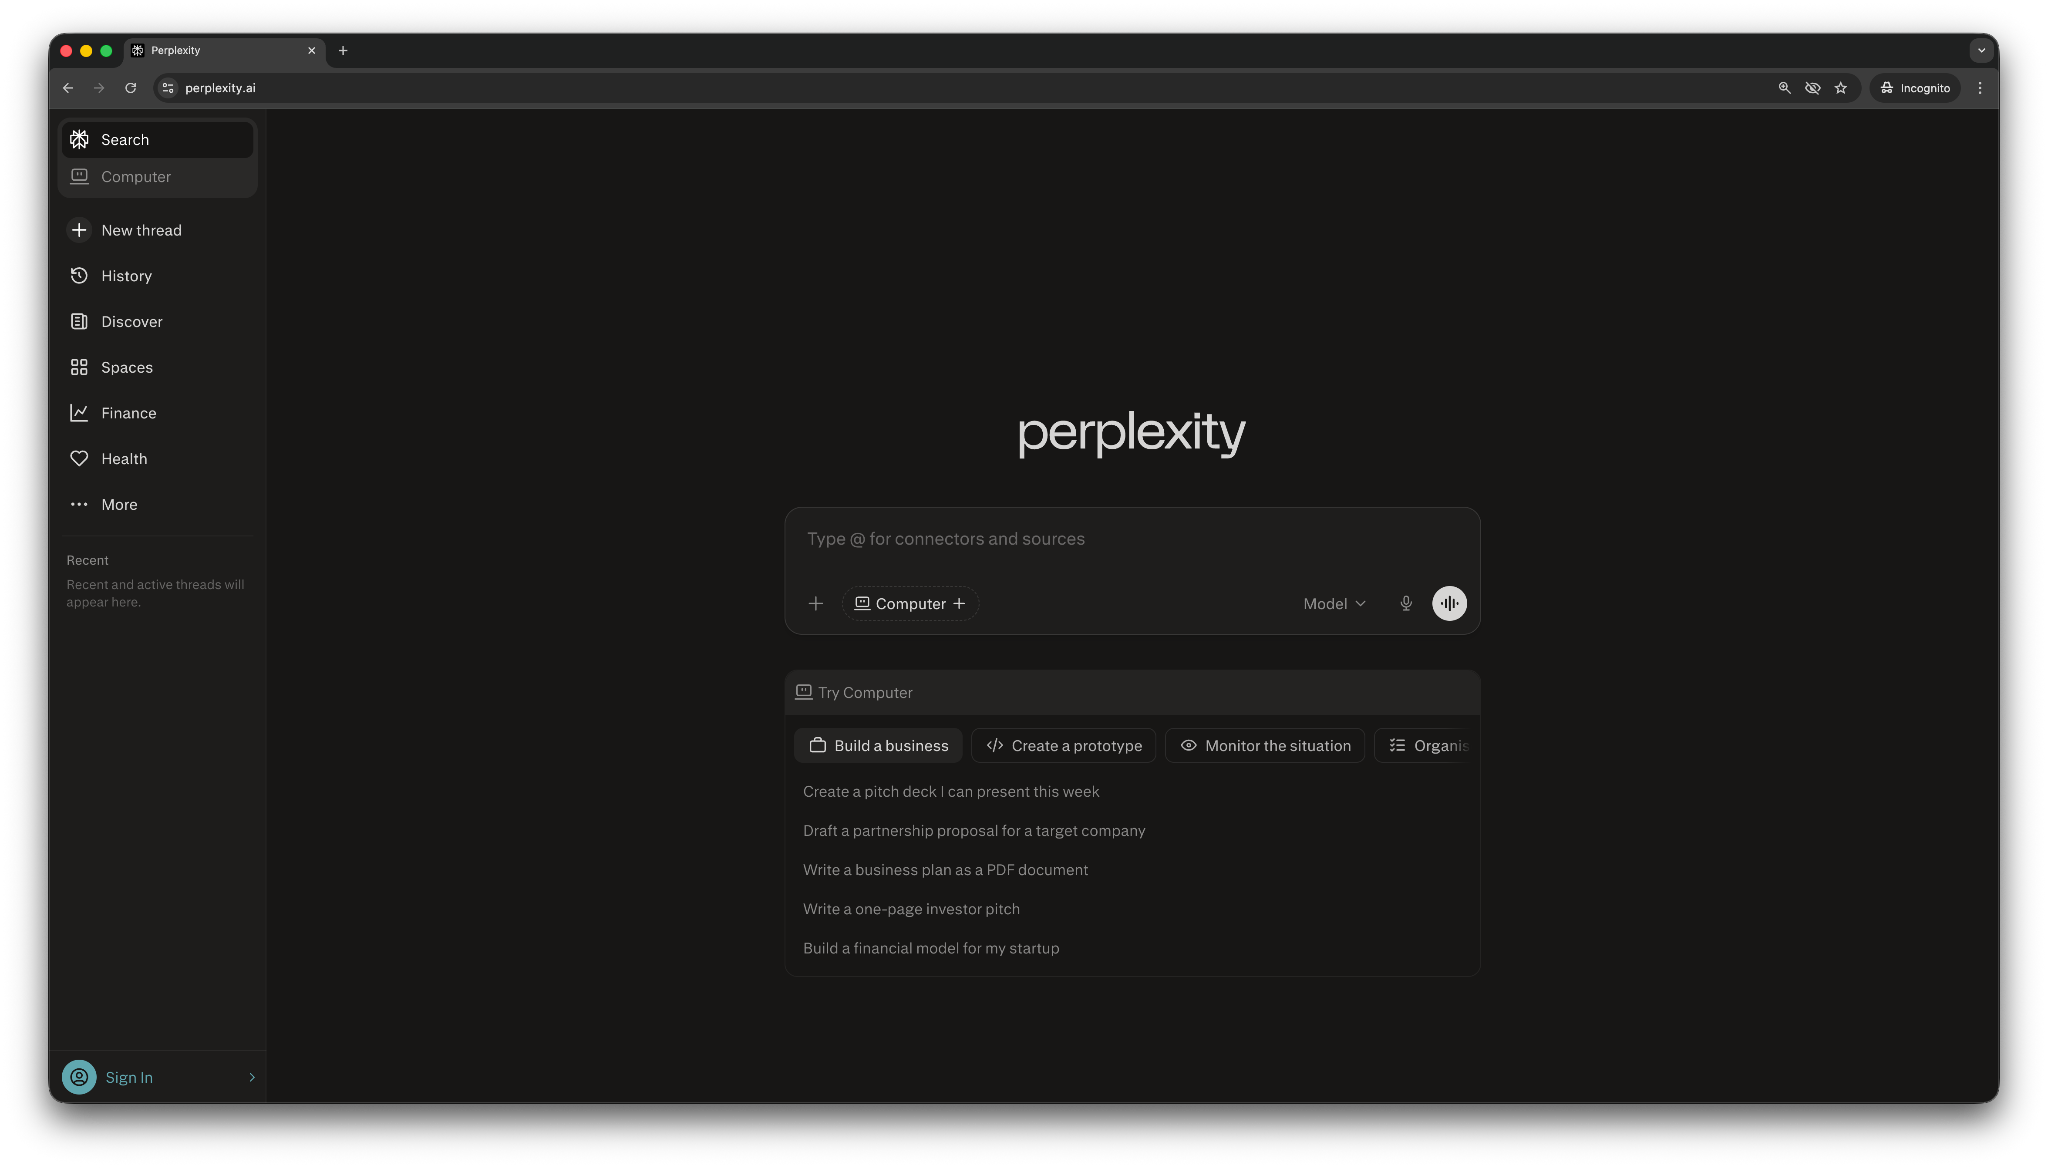
I tested Perplexity to research stats for an article I was writing about bottom-of-the-funnel marketing. It gave me a polished answer and supported it with sources I could check. That makes it ideal for quick research, topic exploration, and source-backed summaries.
It also works well when you need to move fast. You can ask a question, scan the answer, open the sources, and decide whether you want to keep going. That flow feels more useful than a traditional chatbot when you need current information or want to verify a claim.
The limitation is that Perplexity helps you find and organize information, but it does not do much beyond that. It feels more like a research assistant than a work assistant.
Key features
- Answers with citations: Perplexity shows sources by default, which makes research faster to verify.
- Strong for quick factual research: It works well for topical questions, summaries, and early-stage research.
- Deep Research mode: The multi-step research workflow works well for more structured briefs.
- Good file support: You can upload files and combine them with web research for more grounded answers.
- Easy sharing: You can turn threads into shareable pages, which helps when you want to pass research along.
Pros
- One of the best free AI assistants for source-backed research
- Makes it easier to verify claims than a normal chatbot
- Fast and easy to use for quick lookups and summaries
Cons
- Better at finding information than handling tasks
- You still need to check whether the cited sources are strong and relevant
What users say
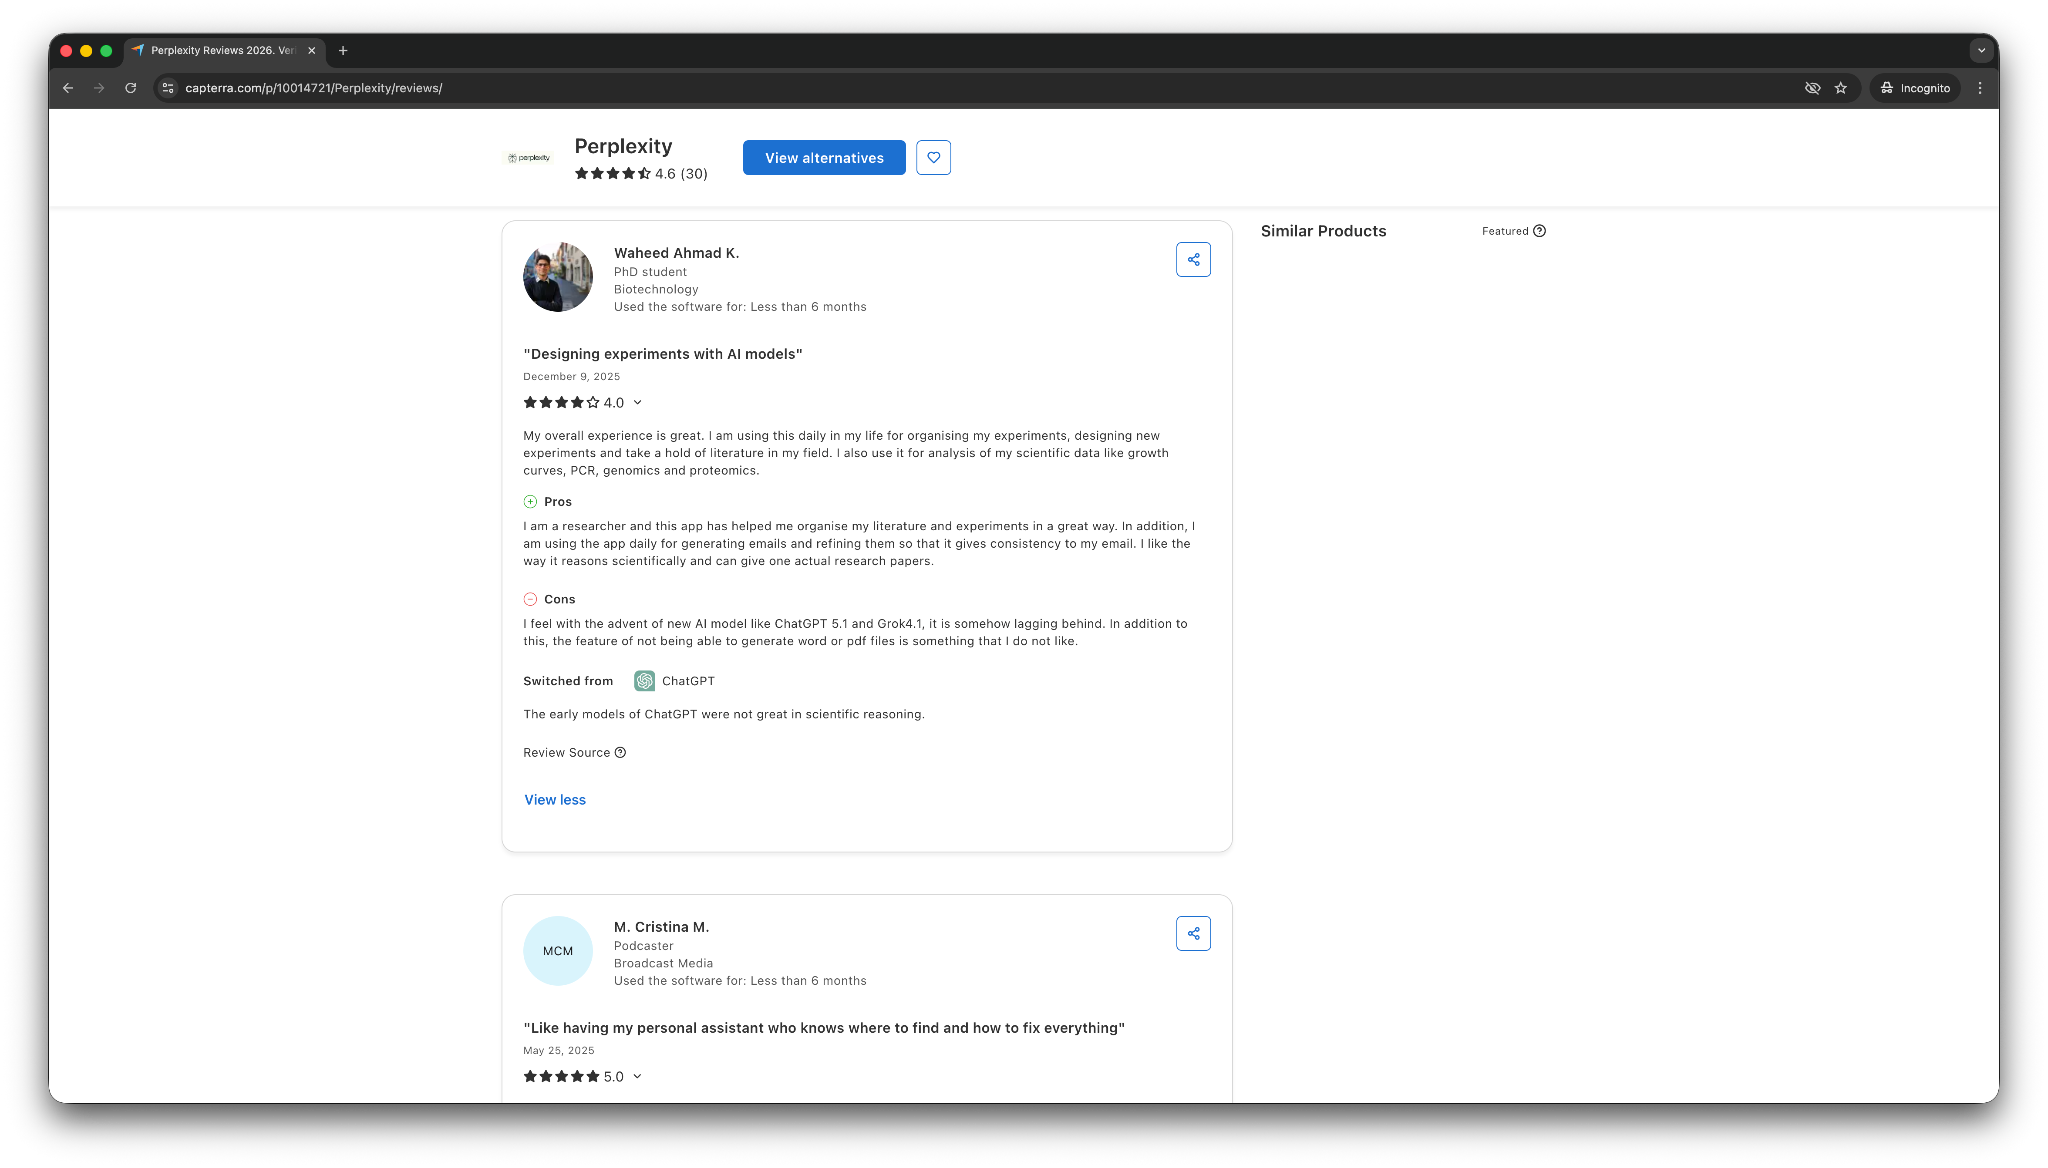
- “It doesn't flood you with advertisements or paid ads and always gives you relevant results, but the best feature is the direct link to the sources. You can then judge yourself whether they are reliable, and so far, they always were.” — M Christina M, Capterra
- “I feel with the advent of new AI models like ChatGPT 5.1 and Grok 4.1, it is somehow lagging behind. In addition to this, the feature of not being able to generate Word or PDF files is something that I do not like.” — Waheed Ahmad K, Capterra
Perplexity is one of the best tools for fast factual lookups and checkable answers. However, users also mention that it lags behind the newer AI models from ChatGPT and Claude. It is a smart pick if your main goal is to research faster with more confidence.
Pricing
- Free plan with limited Deep Research
- Paid plans start at $20/month, billed monthly
Bottom line
Perplexity works well if you want an AI assistant for research with visible sources. It’s ideal when you need fast answers you can verify, not when you need an assistant to manage your day or take action across your tools.
5. Microsoft Copilot: Best for Microsoft 365 users
What it does: Microsoft Copilot is an AI assistant built into Microsoft tools like Word, Excel, PowerPoint, Outlook, and Teams.
Best for: People and teams who already do most of their work inside Microsoft 365.
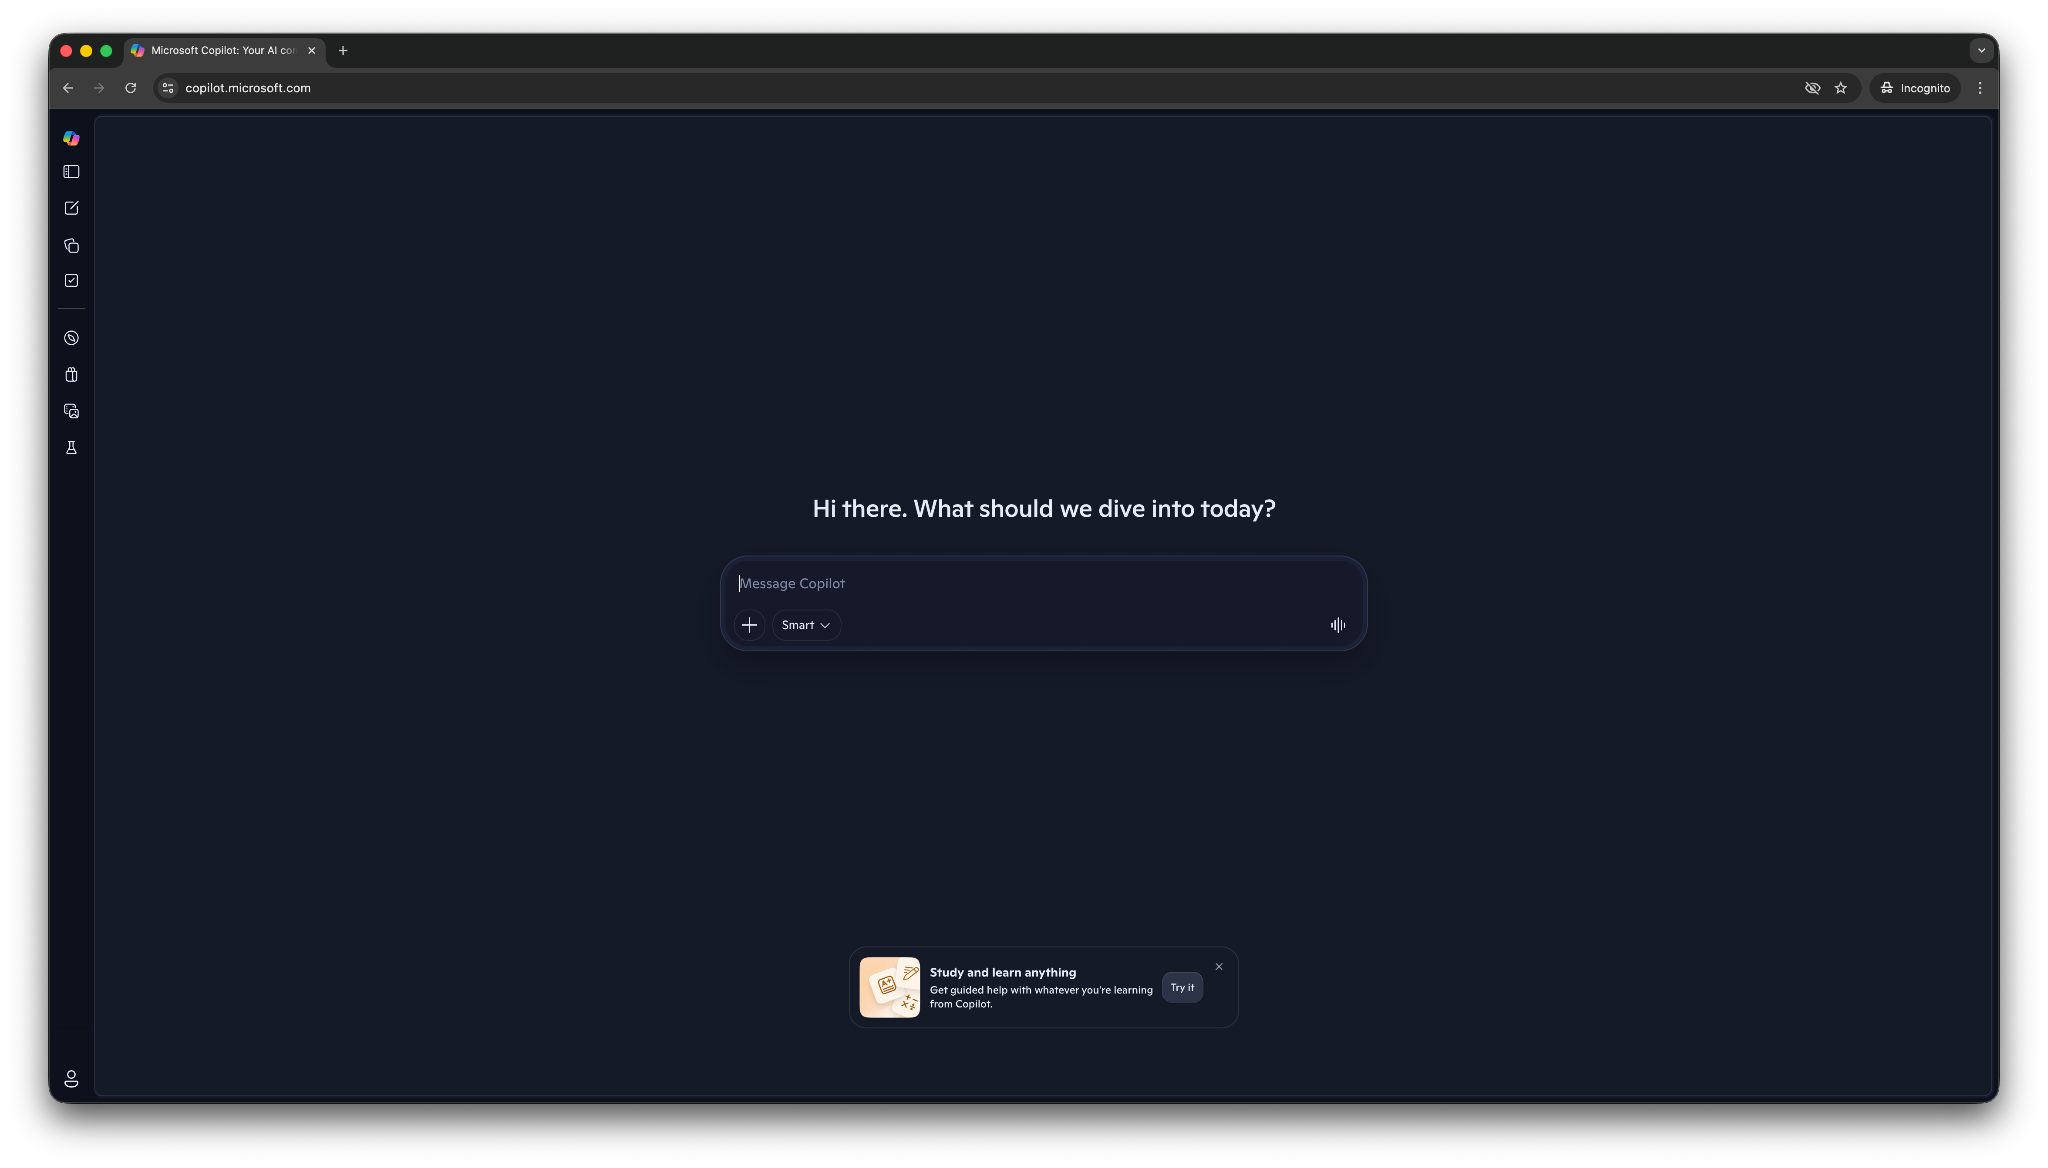
Microsoft Copilot works best when you already live in Microsoft’s ecosystem. You can draft in Word, analyze data in Excel, build slides in PowerPoint, catch up on email in Outlook, and summarize meetings in Teams without bouncing to a separate tool.
That same strength also narrows the audience. Copilot makes less sense if your work happens mostly in Google Workspace, Notion, or a more mixed stack. Copilot is not the most flexible free AI assistant in this list, but it can feel like the most convenient one when your files, meetings, and communication already sit inside Microsoft tools.
Key features
- Built into Microsoft 365 apps: Copilot works inside Word, Excel, PowerPoint, Outlook, and Teams, which cuts down on context switching.
- Strong for work outputs: It helps draft documents, summarize meetings, analyze spreadsheets, and turn notes into presentations.
- Helpful meeting follow-up: The recap and follow-up capabilities in Teams make it useful for missed meetings and action items.
- Enterprise-friendly setup: It fits better than most consumer assistants inside larger organizations that already rely on Microsoft permissions and admin controls.
- Free web access: There’s a free web version, which gives casual users a way to test it without jumping into a paid plan right away.
Pros
- Great fit for people who already use Word, Excel, Outlook, Teams, and PowerPoint every day
- Handles documents, spreadsheets, and meeting follow-up in one ecosystem
- More useful than a generic chatbot for Microsoft-heavy workflows
Cons
- Much less compelling outside Microsoft 365
- Need paid plans to unlock the useful business features inside Microsoft apps
What users say
- “I use it during meetings to generate meeting minutes and send them to my teams! It saves me a tremendous amount of time and it allows me to stay on top of everything!” — Richelle H, Capterra
- “Although Copilot is using ChatGPT, it certainly feels the native ChatGPT is more powerful. Copilot is a distilled or quantized model.” — Terry M, Capterra
Copilot earns its place because it reduces friction for Microsoft users. It’s the most natural assistant for Microsoft 365 work, but the value drops fast if you do not depend on Microsoft apps.
Pricing
- Free version with a Microsoft account
- Paid plans start at $9.99/month, billed monthly, for individuals
Bottom line
Microsoft Copilot works if you want a free AI assistant that works inside Microsoft 365. It shines when your documents, email, meetings, and spreadsheets already live there. If not, a more flexible assistant in this list will likely serve you better.
6. Shortwave: Best free AI assistant for Gmail inbox triage
What it does: Shortwave is an AI email assistant that helps you summarize threads, clean up your inbox, and find important details inside Gmail faster.
Best for: Gmail users who want help staying on top of email without switching to a full help desk or a general chatbot.

Shortwave solves inbox overload. I tested it and it grouped emails into a cleaner workflow, summarized long threads, and helped me pull useful details from my inbox without digging through messages one by one.
That said, Shortwave is still a narrower assistant than tools like ChatGPT or Lindy. It shines when email is the problem you want to fix. It does not try to become your all-purpose AI assistant across research, planning, and task execution.
It works best if you are willing to change how you handle email, since its bundled, triage-heavy style feels different from a normal inbox.
Key features
- AI thread summaries: Shortwave gives you quick summaries at the top of long conversations, which makes catch-up faster.
- Inbox search with answers: AI search can answer questions like when your flight is or what someone sent, instead of only returning a list of emails.
- Fast inbox triage: Bundles, splits, and filters help you sort and process email faster.
- Scheduling help inside email: I can check availability, create events, and help with scheduling from inside the inbox.
Pros
- Excellent for people who spend a big part of the day in Gmail
- Strong summaries and useful inbox search
- Helps reduce the time you spend digging through long threads
Cons
- Narrower use case than a full AI assistant
- Works best if you are comfortable changing your email workflow
What users say
- “This app makes me check my inbox like it's social media. I find myself wanting to be in it because I'm so comfortable with the product as a whole.” — Mason Garcera, App Store
- “The Ul is cluttered and less intuitive. For example, to switch between email accounts, I have to reach all the way over to the left-hand side of my screen and swipe.” — Kewwy, App Store
Shortwave gets the most praise from people who want a smarter Gmail experience. It works best when you buy into its inbox style. However, a few reviews mention the unintuitive UI. That makes it a great specialist pick, not the best fit for everyone.
Pricing
- Free plan with up to 15 threads/AI search
- Paid plans from $18/seat/month, billed monthly
Bottom line
Choose Shortwave if you want a free AI assistant focused on Gmail inbox triage. It works well for summaries, search, and faster email handling. If you want broader help across writing, research, meetings, and task execution, look for a tool with more range.
7. Notion: Best for notes, docs, and internal knowledge
What it does: Notion helps you write, summarize, search, and organize information with AI.
Best for: Teams and individuals who already use Notion for docs, notes, wikis, and project planning.
Notion’s AI feels most useful when your work already lives in Notion. It does a good job turning messy notes into cleaner drafts, pulling answers from internal docs, and helping you move faster inside a workspace you already know.
You can use Notion to write and find information inside Notion, but it does not give you the same range you get from assistants built for research, inbox work, or task handling across multiple apps. That makes it a weaker fit for anyone who needs help across their full stack.
Key features
- Workspace search and Q&A: Notion AI can answer questions from the pages and databases you already use inside Notion.
- Writing and editing help: It can rewrite, summarize, expand, and clean up rough content inside docs and notes.
- Useful database support: AI autofill and structured outputs make it easier to organize information in Notion databases.
- Meeting note support: It can help with summaries, action items, and follow-up content tied to your workspace.
- Good fit for internal knowledge: Uploaded files and internal pages become easier to search and reuse.
Pros
- Strong fit for teams that already run on Notion
- Helps clean up notes, docs, and internal knowledge fast
- Useful for writing and summarizing without leaving your workspace
Cons
- Much less useful if you do not already use Notion heavily
- Better inside one workspace than across your full set of tools
What users say
- “Its customizable workspace keeps everything organized, and the Q&A AI feature helps me find information fast, saving time during hectic days.” — Alexander Z, Capterra
- “It makes it extremely hard for me to use. I would rather just use Google Docs.” — William A, Capterra
Notion AI works best when you treat it as an upgrade to your existing workspace. It helps most with drafting, summarizing, and finding answers inside documents you already rely on. If your main problem is scattered internal knowledge, it feels practical and fast.
Pricing
- Limited free trial of AI in the Free plan and the Plus plan, from $12/member/month, billed monthly
- Full access to Notion AI on Business plans and higher, from $24/member/month, billed monthly
Bottom line
Notion works well if you need AI for your notes, docs, and internal knowledge within Notion. If you need an assistant that reaches further across your inbox, calendar, and other apps, look elsewhere.
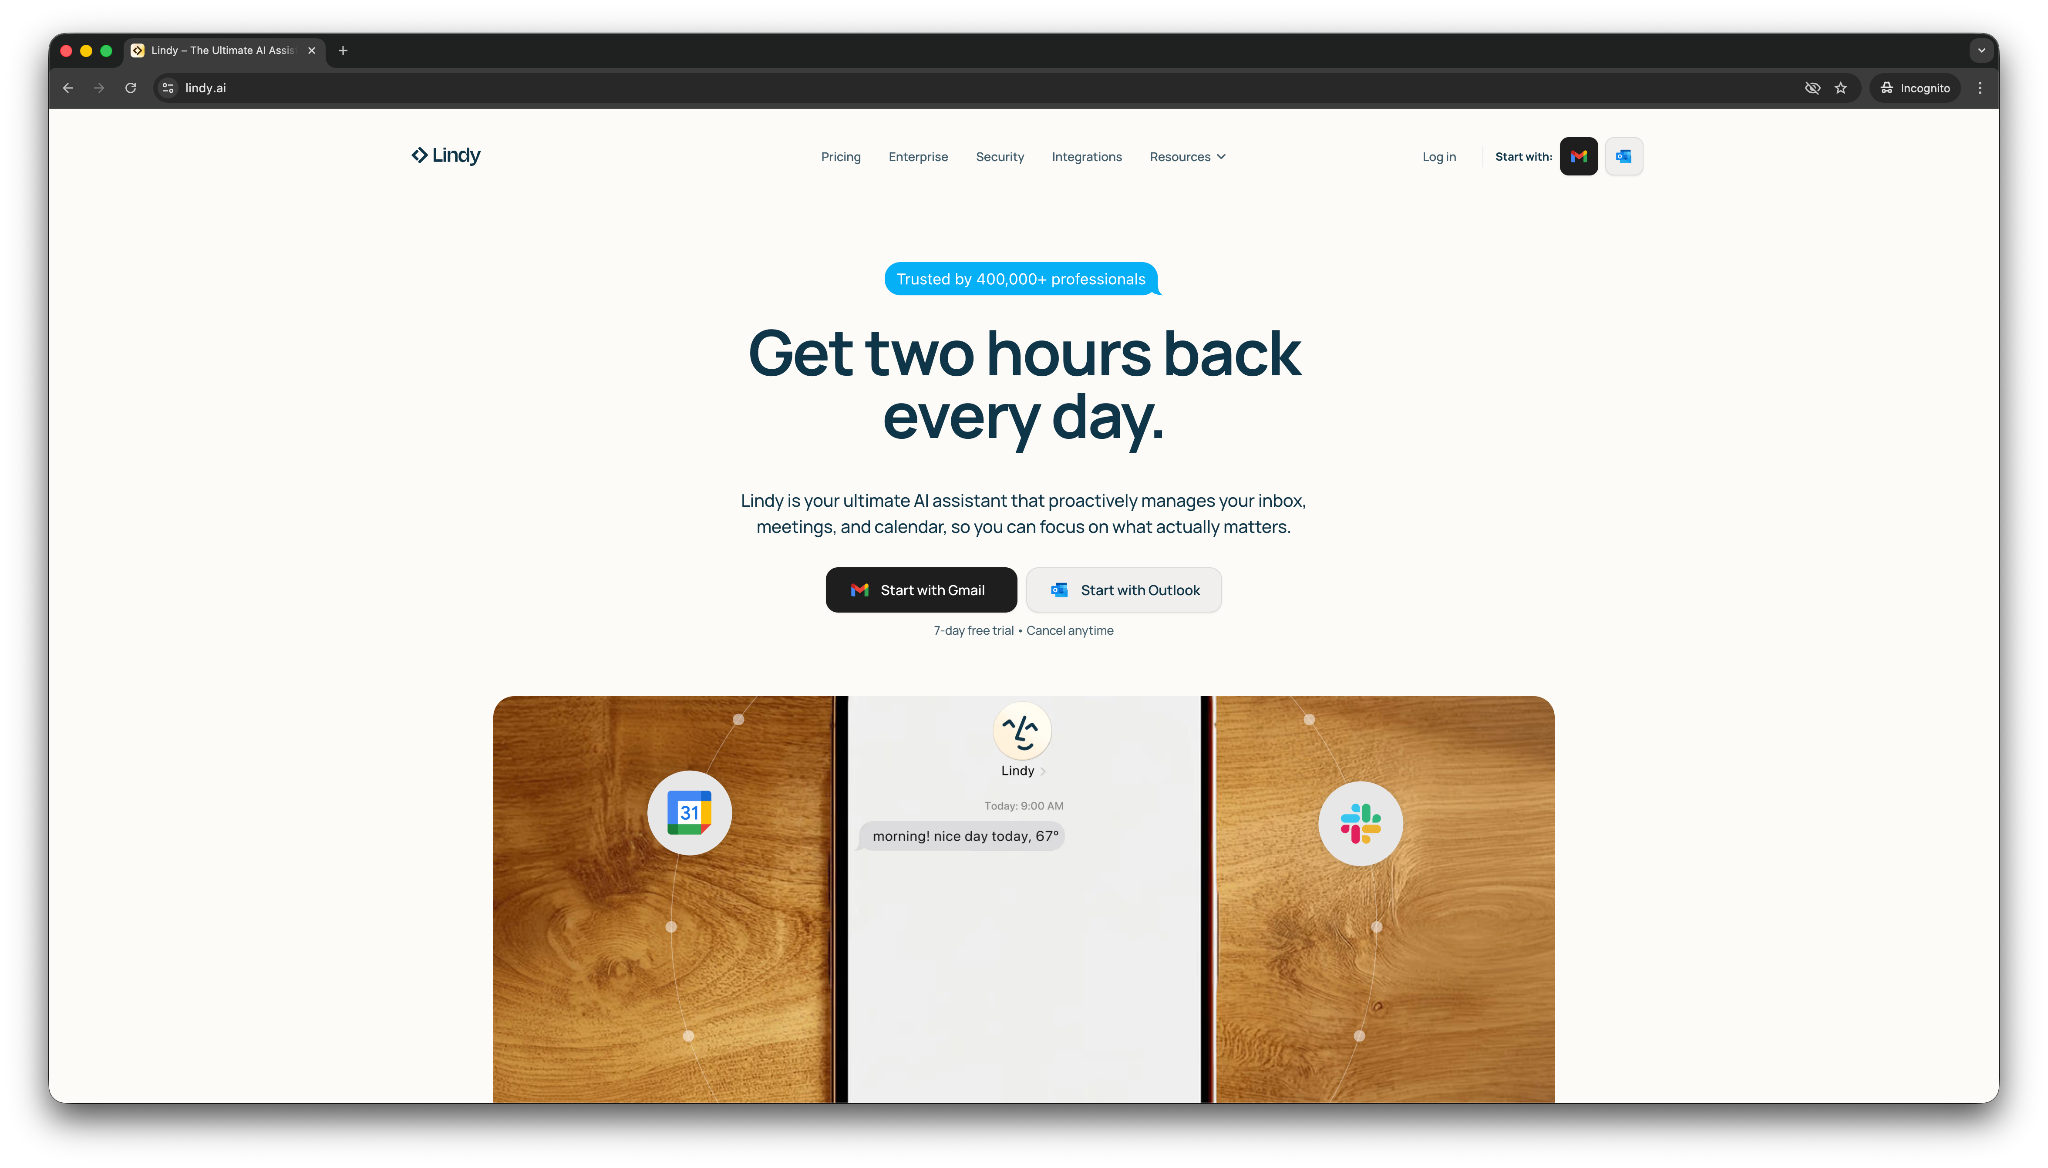
8. Lindy: Best value AI assistant for handling tasks across your tools
What it does: Lindy is an AI assistant you can text to check your inbox, review your calendar, track updates, and handle tasks across connected apps.
Best for: Founders, operators, sales teams, and busy professionals who want one assistant to answer questions and complete tasks across their apps.
When testing, I asked Lindy in plain English to summarize emails, prepare for upcoming meetings, update the CRM, and nudge the team with important updates. It's free trial gives you the same capabilities as the Plus plan, so you can test it properly.
You can start by describing what you want Lindy to do, connecting the tools you already use, and getting help right away. You can pick a template for common tasks like responding to emails, and text Lindy how you want it to respond to specific emails.
I realized that Lindy works across multiple domains and tasks among the AI assistant tools, most of which only help with writing or searching.
Key features
- Text Lindy to get answers from your tools: Lindy can pull details from connected apps like Gmail, Google Calendar, Slack, Notion, and CRM systems, then return the answer in chat.
- Ask Lindy to get things done: You can ask Lindy to summarize emails, draft replies, track leads, or organize meeting follow-up without a complex setup.
- Approve critical steps: Lindy can share important email drafts or action items with you for approval before acting on them.
- Proactive updates: Lindy can send alerts when something important happens, which helps you stay on top of leads, inbox changes, and task updates.
- SOC 2 and HIPAA compliant: Lindy works well for privacy-focused and regulated industries like healthcare, legal, or finance.
- Easy and quick onboarding: You can start with ready-to-use templates for things like inbox help, meeting notes, scheduling, research, and lead follow-up.
- Hundreds of integrations: Lindy connects with everyday apps, so it fits better into existing work than assistants that stay inside one product ecosystem.
Pros
- Feels more useful than a chat-only assistant when you need help with inbox, calendar, and CRM work
- Easy to start with simple prompts like “summarize today’s important emails”
- Flexible enough for both one-off questions and recurring tasks across multiple tools
Cons
- You need to connect your apps before Lindy becomes much more helpful than a general chatbot
- It takes more setup than tools like ChatGPT or Claude if you only want quick answers in a browser
What users say
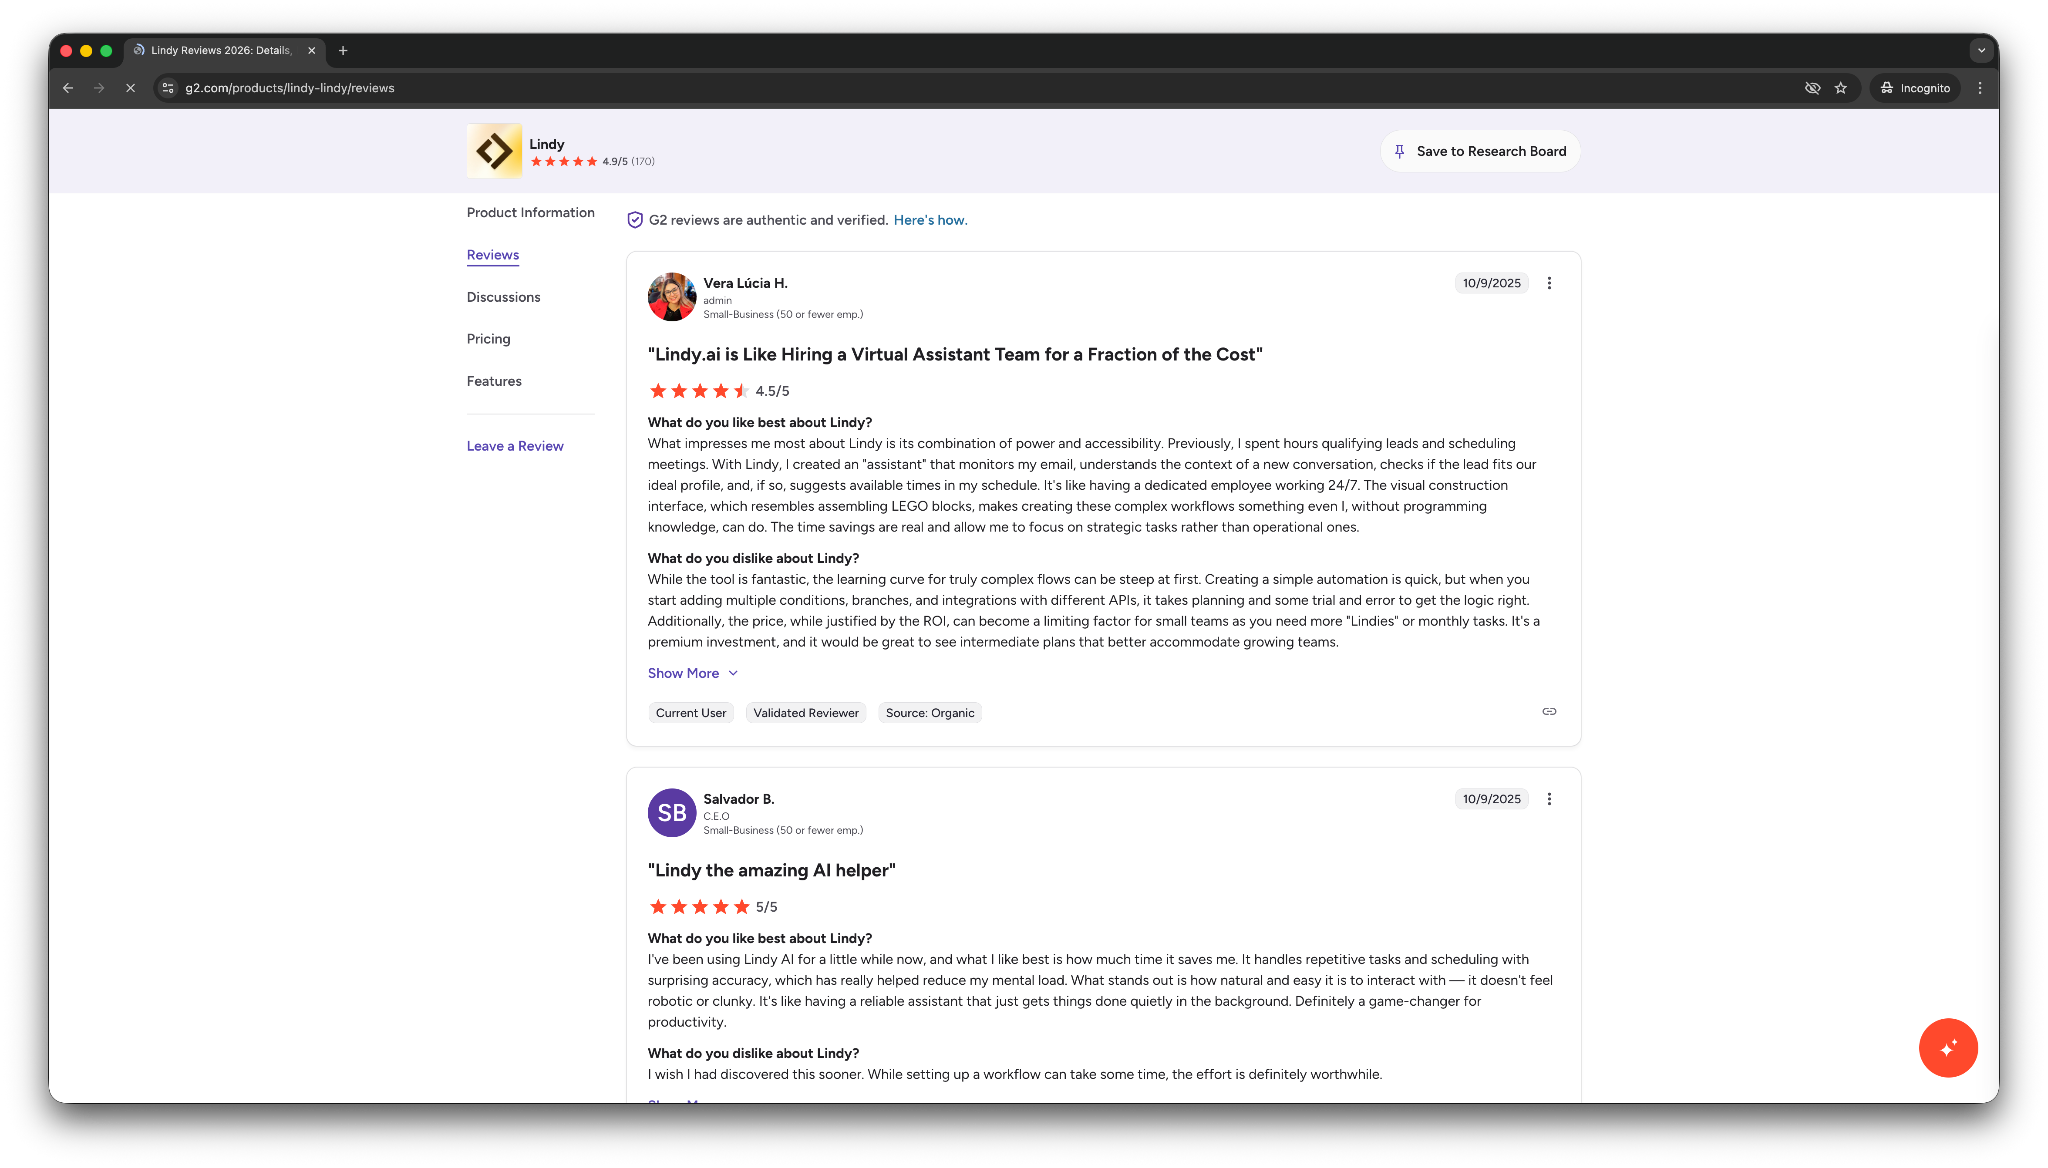
- “With Lindy, I created an assistant that monitors my email, understands the context of a new conversation, checks if the lead fits our ideal profile, and, if so, suggests available times in my schedule.” — Vera Lúcia H, G2
- “Sometimes the images it produces look realistic, but other times they don't quite achieve that level of realism. I would really like it to be more consistently realistic…” — Cardiechey J, G2
Lindy blends assistant-style chat with task handling. It’s a good fit for people who want to ask for help in natural language and get more than a text response back. The trade-off is that Lindy makes the most sense once you hook it into your work apps and give it a clear job to handle.
Pricing
- A 7-day free trial with all the capabilities of the Plus plans
- Paid plans from $49.99/month, billed monthly
Bottom line
Choose Lindy if you want a free AI assistant that can do more than write and summarize. If you like the idea of texting one assistant to handle inbox checks, meeting prep, lead updates, and other routine tasks across your tools, Lindy is one of the strongest options in this list.
{{templates}}
Which free AI assistant should you choose?
You should choose the AI assistant that matches your use case and team size. An AI assistant like Lindy may be overkill if you only need AI for research or home control. Use the scenarios below to decide the best tool:
Choose Lindy if:
- You want an AI assistant you can text to check your inbox, review meetings, track leads, and handle routine work across your tools.
- You use multiple apps today and lose time jumping between email, calendar, Slack, and your CRM.
- You want help with real tasks, not only answers in a chat box.
Choose ChatGPT if:
- You want a flexible, free AI assistant for writing, brainstorming, summarizing, and quick everyday questions.
- You need one tool that can help with many light tasks without much setup.
- You do not need the assistant to take action inside your work apps.
Choose Gemini if:
- You already spend most of your day in Gmail, Docs, Drive, and other Google tools.
- You want an assistant that can use context from your Google Workspace without forcing a new workflow.
- You care more about Google integration than broad cross-app task handling.
Choose Claude if:
- You want stronger long-form writing, better structure, and more thoughtful reasoning.
- You often work with long documents, rough drafts, research notes, or detailed analyses.
- You care more about writing quality and depth than app integrations or task execution.
Choose Perplexity if:
- You want fast answers with sources you can check.
- You do research often and need an assistant that help you verify claims instead of giving unsupported summaries.
- You care more about finding reliable information than handling inbox or calendar work.
Choose Microsoft Copilot if:
- You already work inside Word, Excel, PowerPoint, Outlook, and Teams every day.
- You want an assistant that fits naturally into Microsoft 365 instead of living in a separate tab.
- You get the most value from document help, spreadsheet analysis, and meeting follow-up.
Choose Shortwave if:
- You want help managing Gmail faster with thread summaries, inbox cleanup, and better search.
- Email takes up too much of your day, and you want a more focused assistant for that one problem.
- You do not need a broader AI assistant for research, writing, or cross-app tasks.
Choose Notion if:
- You already use Notion for docs, notes, wikis, and project planning.
- You want faster writing, summaries, and answers from your internal knowledge in one workspace.
- You care more about improving your Notion workflow than managing work across many apps.
How do AI assistants work?
AI assistants combine language understanding, access to your data, and the ability to perform actions. Here is a simple way to think about how they work:
Understand inputs using AI models
The AI model interprets your request and decides what needs to happen. When you type something like “Summarize today’s emails,” the model understands the goal and determines the steps required to complete the task.
Connect data sources for context
Your assistant needs access to information to do their job. These sources usually include tools such as Gmail, Google Calendar, documents, or CRM systems. Once you connect these tools, the assistant can read and analyze the data inside them.
Take actions across your apps
Actions allow the assistant to complete tasks inside your apps. For example, it can draft email replies, create tasks in project tools, schedule meetings, or send notifications in Slack.
For example, you text your assistant, “Which emails from today need a reply?” Your assistant can:
- Search your inbox
- Identify messages that require responses
- Summarize the important ones
- Write the suggested replies
This way, the assistant can complete the task in seconds, which normally takes several minutes of manual work.
Modern AI assistants can also trigger tasks automatically. For instance, an assistant can detect new leads in your CRM, draft follow-up emails, and notify you in Slack.
Tools like Lindy make this process simple because you interact with your assistant through chat. You tell it what you need, connect the tools you already use, and let it handle the work behind the scenes.
What you need to create an AI assistant
You do not need coding skills or complex infrastructure to create an AI assistant today. A few basic elements allow you to set one up quickly and start delegating tasks. Here’s what you’ll need:
A clear use case
Start with a specific purpose. Your assistant should solve a real task instead of trying to handle everything at once. For example, you might want an assistant to:
- Summarize important emails
- Schedule meetings
- Track new leads
- Gather research for a project
An AI assistant platform
You also need a platform that understands your instructions and executes tasks. Some popular tools include:
- Lindy
- ChatGPT
- Gemini
- Microsoft Copilot
Access to your apps and data
Your assistant needs access to the tools where your work happens. Common connections include:
- Gmail
- Google Calendar
- Slack
- Notion
- CRM systems
For example, if you connect Gmail and Google Calendar, your assistant can review emails, draft replies, and schedule meetings automatically.
How to set up Lindy as your AI assistant
Lindy offers the fastest way to set it up as an AI assistant by simply texting it what you want it to do. Lindy understands the request and starts helping immediately.
Here’s how you can chat with Lindy:
Step 1: Create your free Lindy account
Go to Lindy and sign up for your free trial. The platform opens with a chat interface where you can interact directly with your assistant.
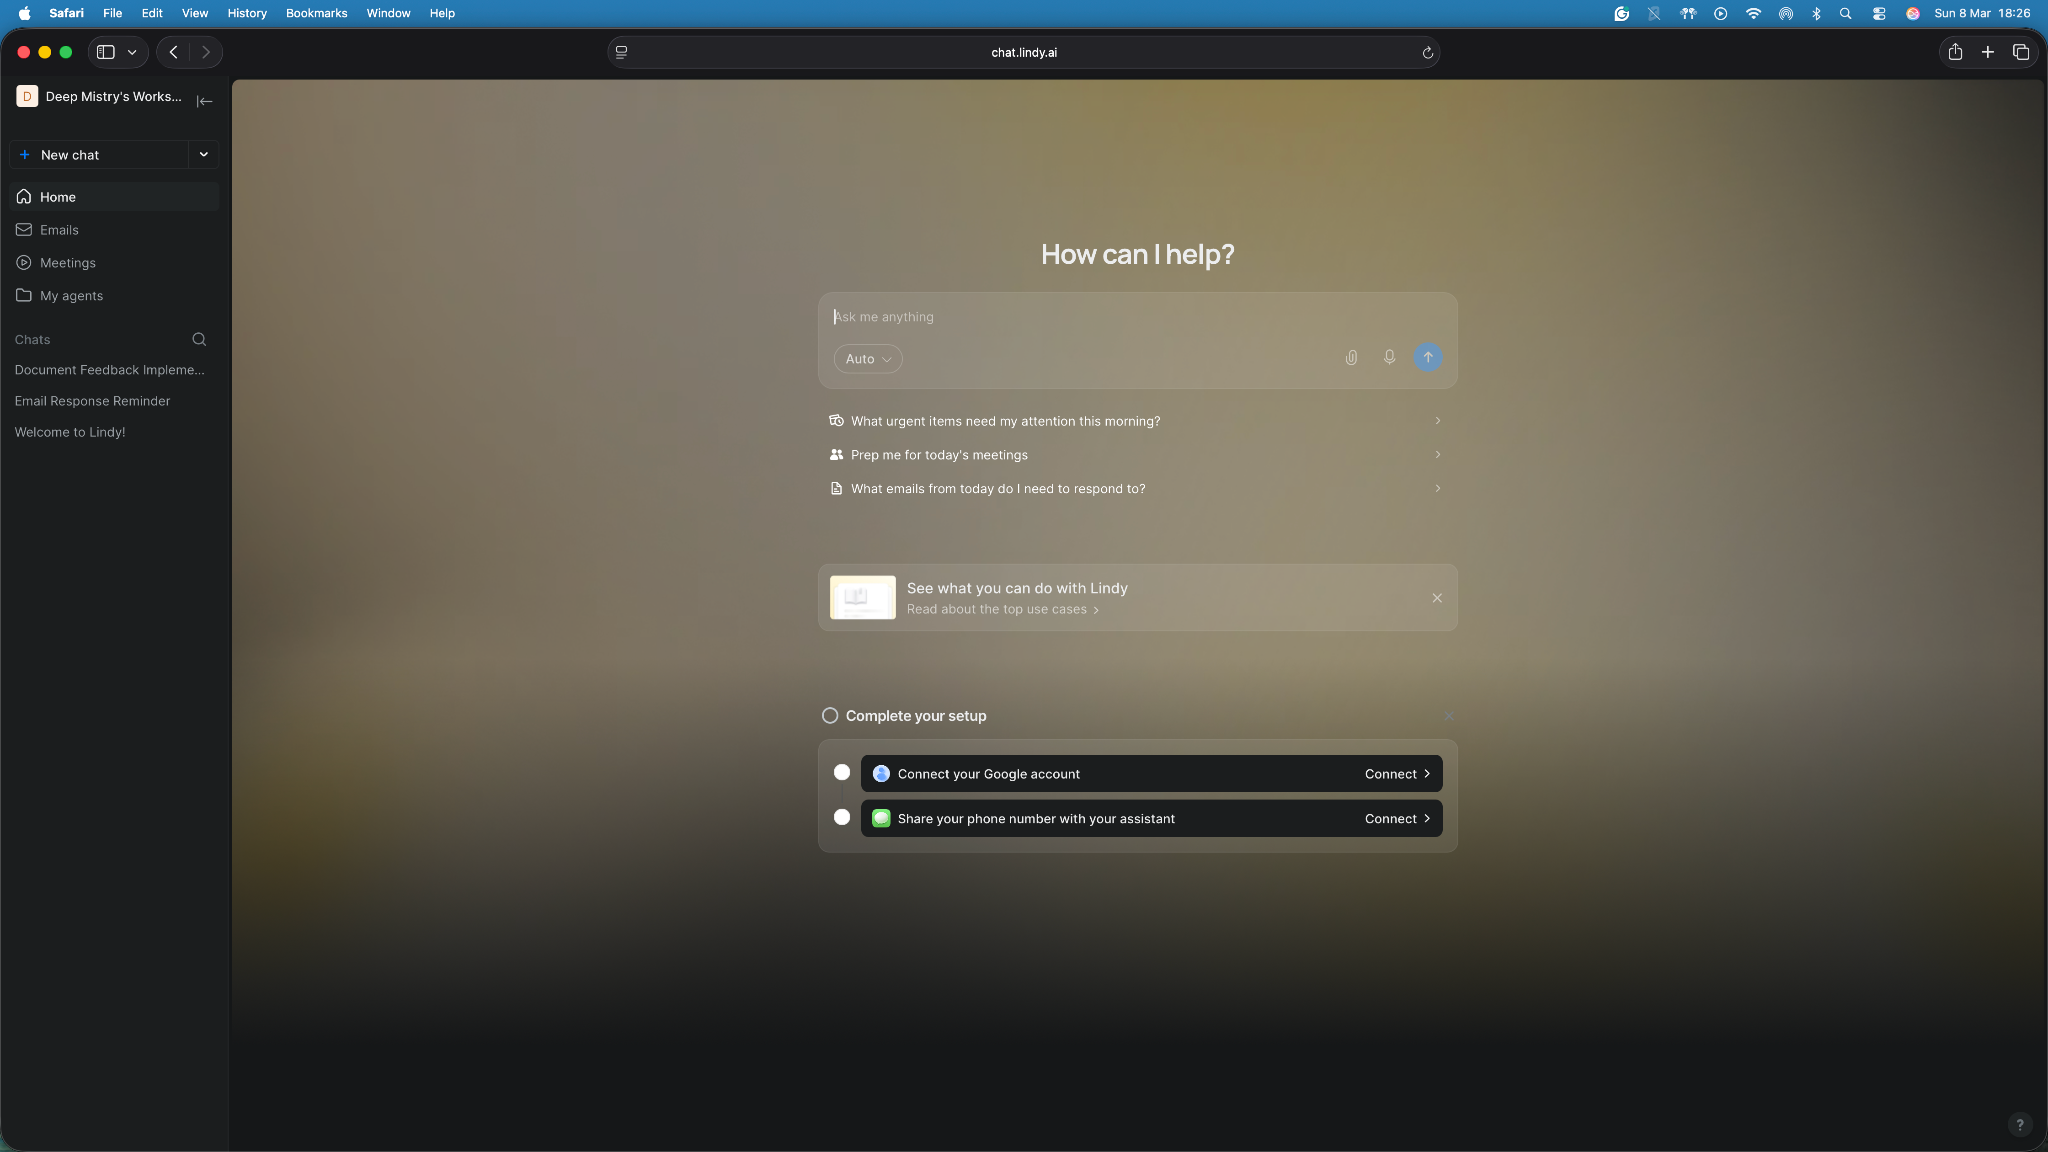
You do not need to configure anything at this stage. Think of this like texting a personal assistant for the first time.
Step 2: Connect the tools you use
Next, connect the apps your assistant needs to access. Lindy connects with hundreds of apps that allow it to gather information and complete tasks for you. Common integrations include:
- Gmail for reading and drafting emails
- Google Calendar for scheduling meetings
- Slack for sending updates or alerts
- Notion or CRMs for tracking information
Once you connect these tools, your assistant can access the data required to help with your work.
Step 3: Tell Lindy what you want help with
You can simply type your request in plain language. Lindy reads the request, searches the connected tools, and gathers the relevant information. Examples:
- Summarize today’s important emails.
- Find meetings this week and show the agenda.
- Check new leads in our CRM and highlight the important ones.
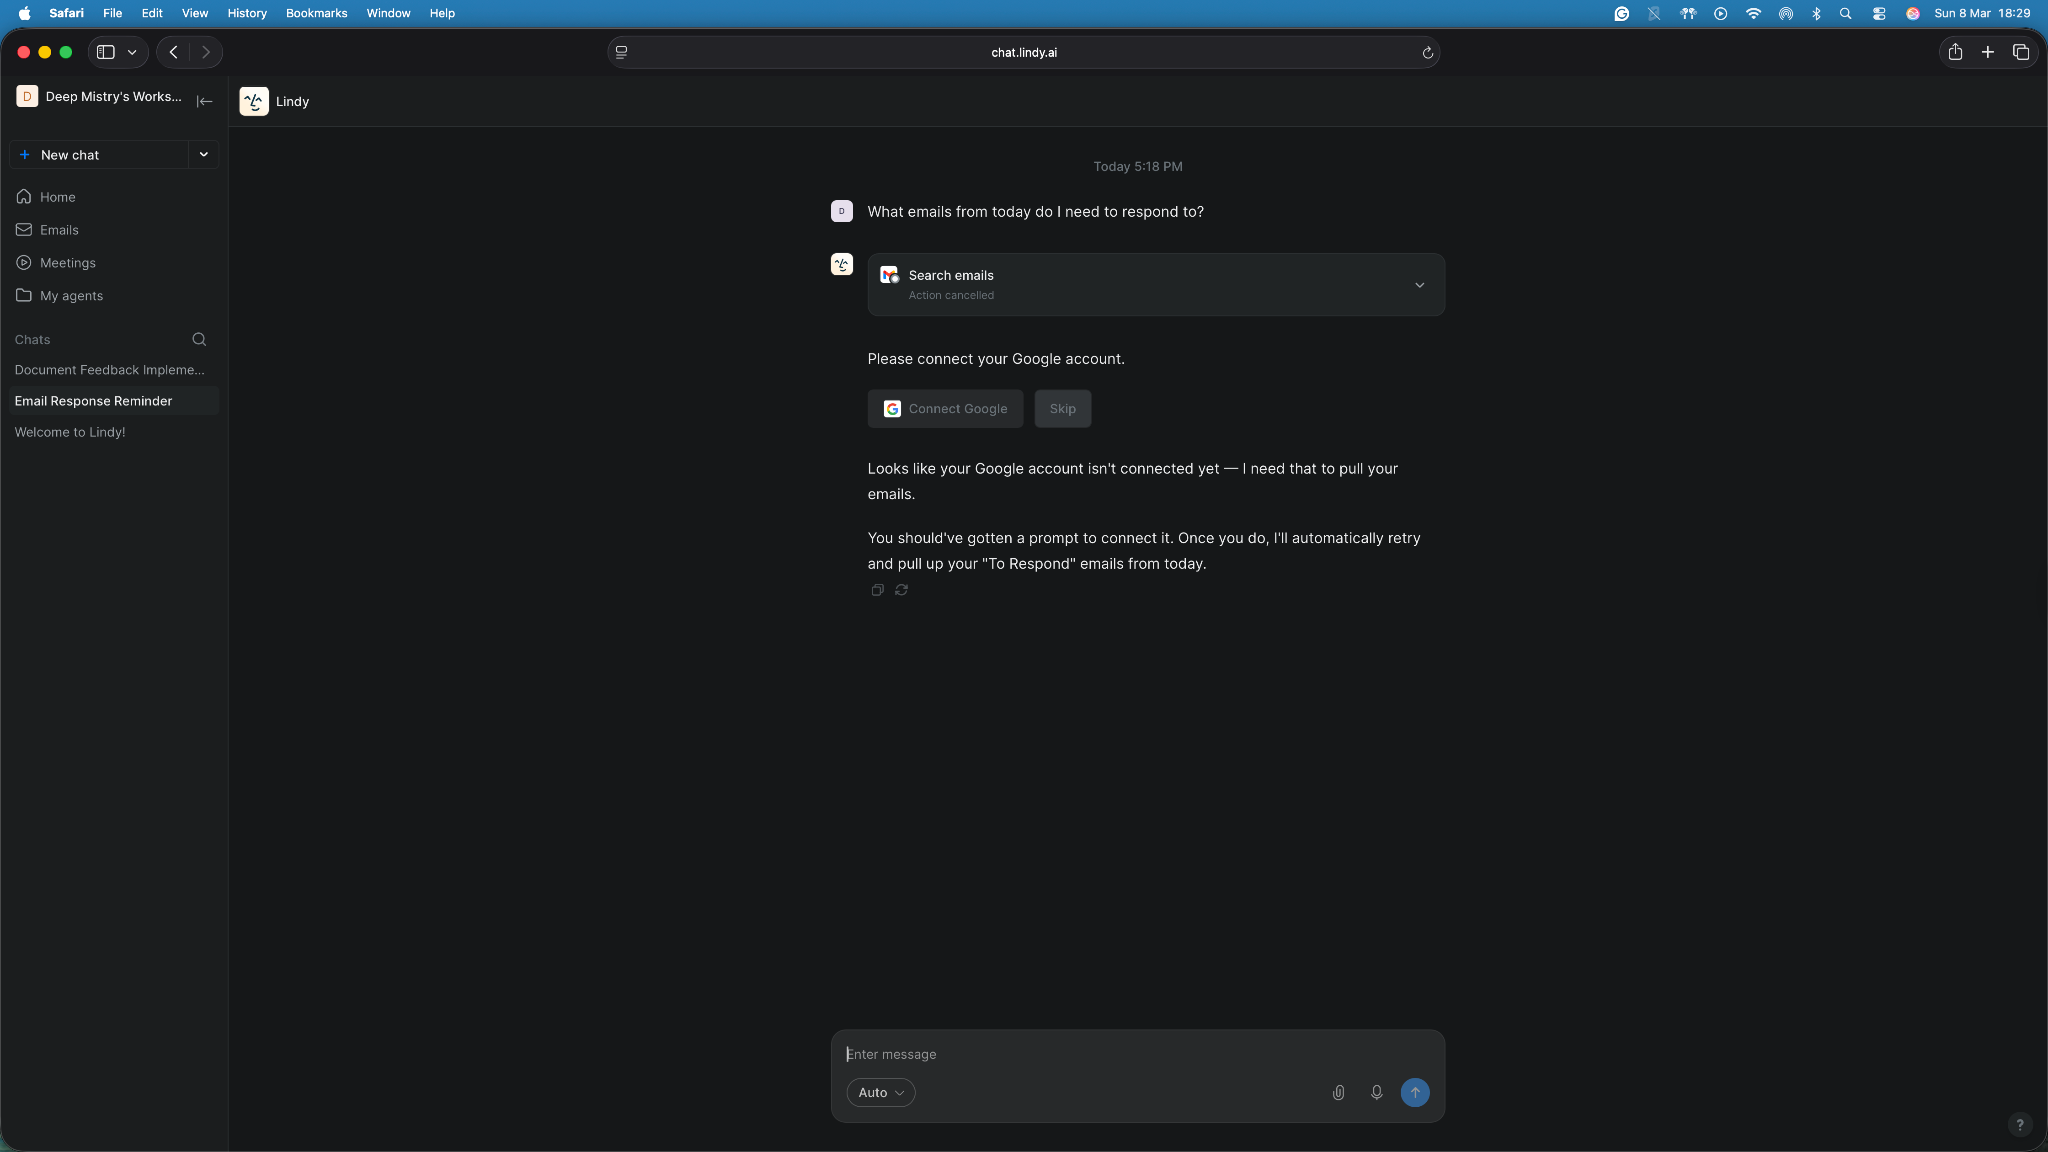
Step 4: Let your assistant handle the task
After you send a request, Lindy performs the task and returns the result in the chat.
For example, if you ask for an email summary, Lindy can review your inbox, identify messages that require replies, and generate a short summary. You can then ask it to draft responses or schedule follow-ups.
The setup works well when you want quick help without building a custom setup.
Common mistakes when creating an AI assistant
Your AI assistant will work better from the get-go if you set it up properly and avoid the errors that users usually make. Here are some issues to keep in mind while creating your AI assistant:
- Trying to automate everything at once: Many people attempt to build an assistant that handles dozens of tasks from the start. It usually creates messy workflows and unreliable results. Start with one clear use case, such as summarizing emails or tracking meeting notes. Expand later once the assistant works consistently.
- Giving vague instructions: AI assistants need clear instructions. Requests like “help with emails” create confusion. Instead, give precise guidance such as “summarize important emails from today and suggest replies.” Specific instructions produce better results.
- Not connecting the right tools: Your assistant needs access to the tools where your work lives. If you do not connect Gmail, your calendar, or your CRM, the assistant cannot complete tasks related to those systems. Always connect the apps required for your workflow.
- Not adding human oversight: Some actions, like drafting follow-up emails or communicating with high-stakes clients, need human control. Always set up your assistant to ask for your approval before acting on critical tasks.
- Skipping testing: Always test your assistant before using it for daily work. Run a few realistic scenarios to confirm everything works correctly. For example, send a test email or create a sample task to verify that the assistant performs each step properly.
Avoid these mistakes, and your assistant will handle tasks far more reliably.
My final verdict
If I had to pick one AI assistant for most readers here, I’d choose Lindy, even though it only offers a 7-day free trial.
Lindy fits the needs of most people better than other AI assistants on the list. It can help with tasks like checking emails, reviewing meetings, tracking leads, and staying on top of updates across their tools without a complex setup. You can simply text it to get things done.
That said, Lindy will not be the best fit for everyone on day one. If you only want quick writing help or casual brainstorming, ChatGPT is the easier starting point. If you spend your day inside Google Workspace, Gemini will feel more natural.
If you care most about long-form writing and deeper reasoning, Claude is a strong pick. And if you mainly want research with sources, Perplexity does that better than most tools here.
Personally, I prefer tools like Lindy that reduce manual work instead of adding another tab to check. I would rather text an assistant to summarize important emails, flag what needs attention, and keep me updated than copy-paste work into a chatbot all day.
ChatGPT is the easiest general starting point. Lindy is the better long-term choice if you want to build an AI assistant that helps you get real work done and are willing to pay for it.
Try Lindy, an AI assistant you can text to automate tasks
Lindy is an AI assistant that you can set up without writing code. You can simply ask it in natural language to handle tasks, like emails, meetings, finding leads, customer support, or syncing CRMs.
It offers hundreds of integrations and ready-to-use templates that you can customize. Here’s why Lindy beats other AI assistants:
- Just tell it what you need: You don’t need technical skills or a complicated setup. Just text Lindy, and it handles the task, whether that’s sending a follow-up, updating your CRM, or organizing notes from a meeting.
- Set up tasks for Lindy: Describe the task you want to automate in everyday language. For instance, ask Lindy to find leads from websites and sources like People Data Labs, send emails to each lead, and schedule meetings with members of your sales team.
- Cost-effective: You can try Lindy’s 7-day free trial to see how it fits your workflows. The paid version starts from $49.99/month and offers a ton of functionality.
Try Lindy’s free trial and hand off everyday tasks.
{{cta}}
Frequently asked questions
How do I create a free AI assistant?
You can create a free AI assistant using tools like Lindy, ChatGPT, or Voiceflow. Start by choosing a platform, defining a clear use case, and connecting the apps your assistant needs. Then give it instructions such as summarizing emails or scheduling meetings.
Can I create an AI assistant without coding?
Yes, you can create an AI assistant without coding, as most AI assistant platforms are no-code. Tools like Lindy allow you to create assistants by chatting with them, using templates, or configuring simple visual workflows. You describe what you want the assistant to do and connect the apps it needs.
What can an AI assistant do?
An AI assistant can complete many everyday tasks. For example, it can summarize emails, draft replies, schedule meetings, track leads, or gather research. Once you connect your apps, the assistant can access information and perform actions inside those tools.
How long does it take to create an AI assistant?
You can create a simple AI assistant in a few minutes. Platforms like Lindy allow you to start by chatting with your assistant and connecting tools like Gmail or Google Calendar. More complex assistants that include workflows and automations may take longer to set up.
Do AI assistants work with tools like Gmail or Slack?
Yes, most AI assistants connect with common work tools like Gmail or Slack. You can also link apps like Google Calendar, Todoist, Notion, or CRM systems so your assistant can read information and complete tasks inside those tools.
Are AI assistants safe to use with my data?
Most reputable platforms protect data with security practices such as encryption and permission controls. You still need to review what data you connect and what actions the assistant can perform. Lindy, for example, is SOC 2 and HIPAA-compliant, and offers AES-256 encryption.
What is the best free AI assistant?
The best free AI assistant depends on what you need help with. ChatGPT is the strongest all-around pick for writing, brainstorming, and general questions. Gemini and Microsoft Copilot make more sense if you already work inside Google Workspace or Microsoft 365 all day.
Lindy, with its 7-day free trial, is ideal if you want an assistant you can text to handle tasks across your tools.


Blog
Related Articles

.png)
%20(1).png)

%20(1).png)
%20(1).png)
.png)

The AI assistant that runs your work life
Lindy saves you two hours a day by proactively managing your inbox, meetings, and calendar, so you can focus on what actually matters.
