
Explore 30 workflow automation examples for sales, HR, finance, IT, support, and small businesses, with clear triggers, steps, and review points.
When I evaluate a workflow automation idea, I start with the handoff. Who receives the request? Where do the details go? What has to happen before the task counts as finished? A lead notification may look useful, but it leaves work unfinished if nobody owns the lead or records the next step.
That is the lens I use in this guide. The workflow automation examples below cover sales, HR, finance, IT, customer service, AI-assisted work, and small businesses. Each starts with an event or schedule and ends with a specific outcome. The steps show what software can handle and where someone still needs to decide.
My first pick would be a process with a visible queue and a clear owner, such as routing new inquiries. It is easier to check whether each inquiry reached the right person than to judge whether an automated hiring recommendation was fair. That distinction matters when you choose where to start.
Workflow automation examples by team, with triggers and steps: TL;DR
| Team or category | Workflow automation examples |
|---|---|
| Sales and marketing | Lead qualification, deal-won handoffs, outreach follow-ups, campaign approvals, and monthly sales reports |
| HR | Employee onboarding, PTO approvals, offboarding, and applicant intake |
| Finance | Invoice processing, expense approvals, purchase order approvals, and reconciliation preparation |
| IT and operations | Helpdesk routing, access provisioning, incident escalation, and weekly operations digests |
| Customer service | Support ticket routing, human handoffs, satisfaction surveys, and refund or return requests |
| AI-assisted work | Meeting summaries and action items, inbox triage, competitor research, and content draft reviews |
| Small businesses | Appointment reminders, first-purchase welcome emails, review requests, scheduled social posts, and weekly team digests |
What is workflow automation?
Workflow automation uses software to move a process through defined steps when an event occurs, or a scheduled run begins. Examples include routing a new lead to a sales rep, sending an expense report for approval, and preparing a weekly task summary.
A workflow has a trigger, actions, decision rules, and a result. A new invoice can start the process. The software captures its details, checks them against an order, and sends it to an approver. A mismatch takes a different path and becomes a review task. The result might be an approved bill ready for payment.
A person can still own key steps inside an automated process. A manager can approve spending inside an otherwise automated process. An AI assistant can draft a response while the account owner decides whether to send it.
For a support team, an incoming billing email could create a ticket, receive a billing label, and enter the appropriate queue. An acknowledgment confirms receipt. The team still resolves the underlying issue. The useful change is a defined handoff. Work moves according to the rules the team has set, with exceptions sent to someone responsible for handling them.
Which types of workflows can you automate?
Workflows can respond to events, run on a schedule, or use AI to interpret changing inputs. Approval steps can sit inside any of these patterns. Choose the pattern based on how the work starts and how predictable the next action is.
| Pattern | What starts or directs it | Example |
|---|---|---|
| Event-based | A form submission, status change, or incoming message | Start onboarding when a deal closes |
| Scheduled | A set date, time, or recurring interval | Prepare a monthly sales report |
| Approval-based | A request needs a recorded decision before moving forward | Route a purchase order to a budget owner |
| AI-assisted | Text or files need interpretation before the next action | Extract proposed action items from meeting notes |
AI-assisted workflows still need triggers and destinations. A meeting ending might start an AI summary, while a scheduled run might collect those summaries into a weekly report.
How I picked these workflow automation examples
I selected examples that are easy to inspect. Each needs an identifiable trigger, available inputs, an owner, and a result someone can check. I used official product documentation to ground the capabilities, including scheduled runs, lead scoring, access provisioning, support surveys, and AI-assisted follow-ups.
I also separated examples by the automated work. Onboarding coordinates tasks across teams. Access provisioning handles account permissions. A sales report summarizes revenue activity. An operations digest highlights unresolved work. Those distinctions keep similar-looking workflows from becoming duplicate entries.
This is a guide to process patterns, rather than a ranked comparison of tools. The examples describe possible configurations. Timing, approval thresholds, and message intervals are illustrative settings unless I cite a specific product source.
What is sales workflow automation?
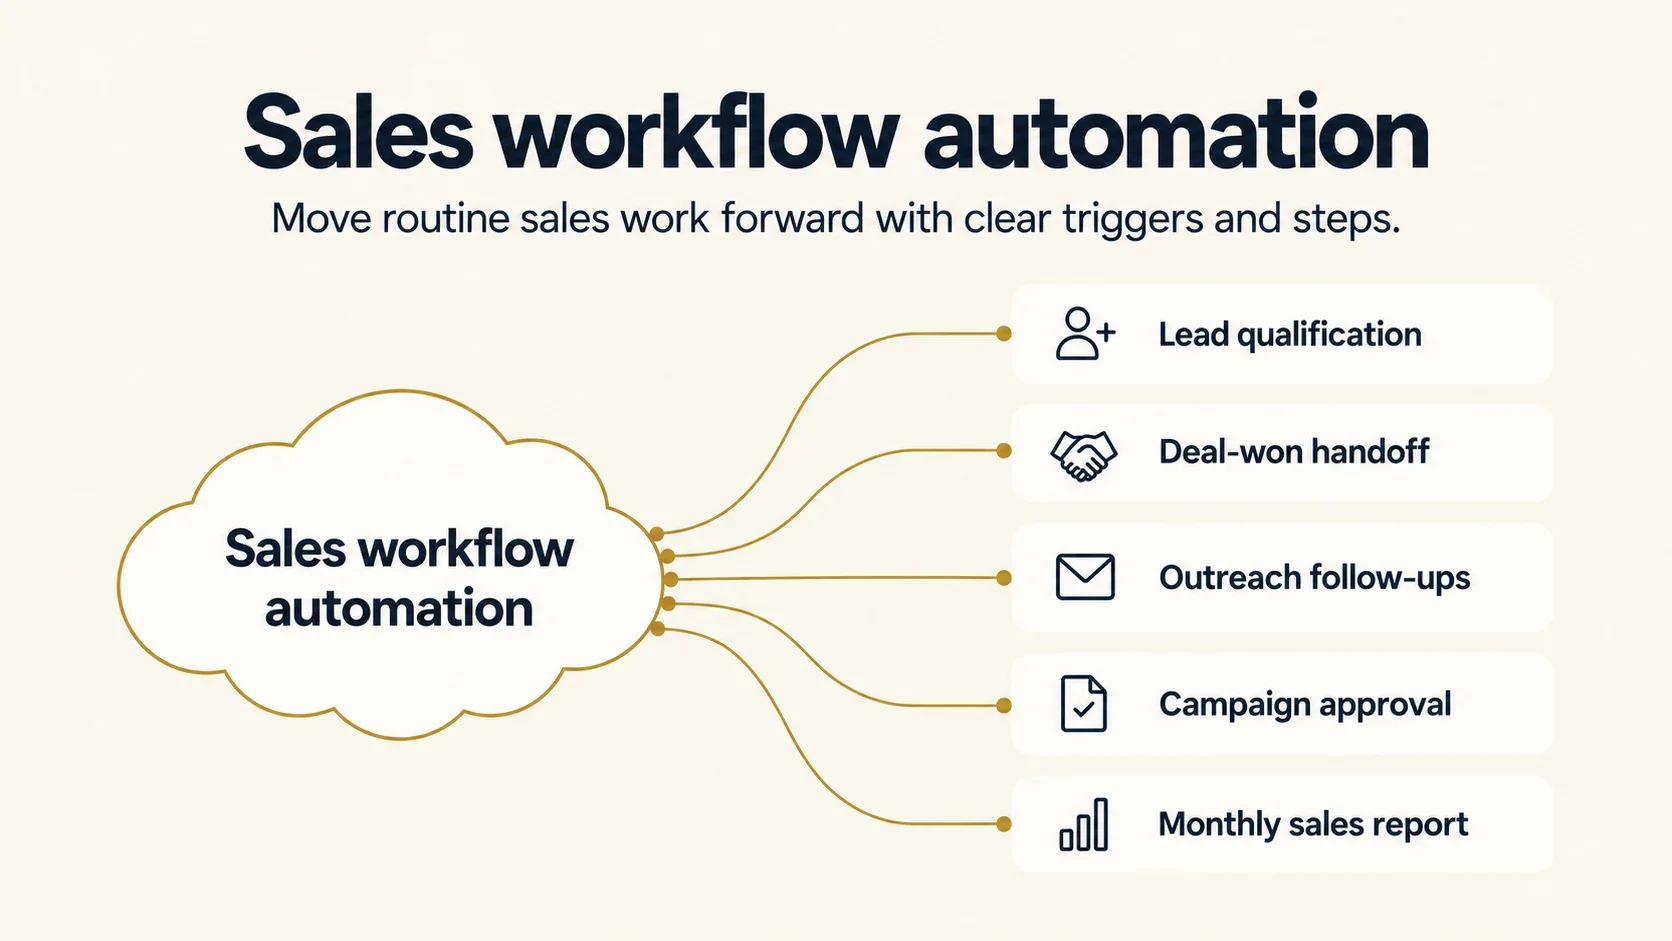
Sales workflow automation handles routine sales tasks when a lead arrives, a deal changes stage, or a reporting date comes around. It can qualify inquiries, assign reps, coordinate customer handoffs, and prepare reports. Sales teams set the routing rules and approval points. Marketing campaign reviews can connect to the same sales process.
Here are examples of sales workflow automation:
1. Lead qualification
Lead qualification automation evaluates incoming inquiries against the team's criteria and routes them to an owner. A form submission can start the workflow. The useful result is a lead record with a documented reason for its priority, rather than an unexplained score.
The workflow follows four steps:
- Check the record: Look for an existing contact before creating one. Capture the inquiry source and flag missing fields that would affect qualification.
- Apply the criteria: Compare company size, role, or expressed interest with the team's defined requirements. Give qualifying traits the agreed weight and save the reasons alongside the score. Keep lower-scoring leads on the appropriate review or nurture path rather than treating a low score as a permanent rejection.
- Assign an owner: Route eligible leads by territory, account ownership, or a rotation. Send incomplete records to a review queue.
- Notify the rep: Include the lead's name, inquiry, qualification reason, and next action. Link to the CRM record so the rep can read the context before replying. Keep subsequent calls and emails on that record, giving the team one place to check the relationship history.
For example, HubSpot documents using lead-score properties in workflows on eligible Professional and Enterprise subscriptions. Contact scoring requires Marketing Hub; company scoring also supports Sales Hub. Use the score to decide which leads a rep reviews first.
2. Deal-won handoff
A deal-won handoff starts customer onboarding when a CRM deal enters the Closed Won stage. It transfers the agreed scope and customer context to the delivery team. The sales rep shouldn't have to repeat the same information in several separate messages.
Five steps follow the stage change:
- Validate the deal: Check that the contract, start date, and customer contact are present. Ask the sales owner to fill any gaps.
- Assign the account: Add the customer success or delivery owner while preserving the sales owner and deal history.
- Prepare the handoff: Create an onboarding document with the customer's goals, purchased services, commitments, and source links. Include the signed scope and any promises made during the sale. Notify the customer success channel with the new account, assigned manager, and a link to the handoff document.
- Coordinate the kickoff: Share a booking link or propose times based on accessible calendars. Send the invitation after the customer confirms.
- Send the welcome: Send the welcome email from the assigned manager or an approved team address. Explain the next step, name the customer's contact, and confirm the kickoff time once booked. Route replies to the responsible owner and record that the handoff has been sent.
Use the deal ID to prevent a second onboarding project if someone updates the won deal again.
3. Cold outreach follow-up sequence
An outreach follow-up workflow checks for responses at set intervals and prepares the next message. It should stop when the prospect replies, opts out, or becomes ineligible for further contact. The interval is a campaign setting.
The sequence follows four steps:
- Check eligibility: Confirm the contact is still eligible and the original email did not bounce. Honor suppression and opt-out records.
- Wait and recheck: After the chosen interval, look for a reply or a booked meeting before preparing another message. A team might wait three days for the first follow-up, then four or five days for the next. Exclude weekends or holidays if the tool and campaign settings support that schedule.
- Prepare the follow-up: Use approved copy or draft a relevant response for review. Keep the follow-up in the original thread where supported, and add a useful detail or question. If the sequence includes a final message, state that the planned follow-ups are ending. Keep case studies and claims accurate.
- Record the outcome: Save replies, bounces, and completed sequences in the CRM. Prevent duplicate enrollment in the same campaign.
Set a clear stopping point. A record with no response shouldn't enter an endless follow-up loop.
4. Marketing campaign approval
Campaign approval automation sends submitted assets to the right reviewers and records their decisions. A draft marked Ready for review starts the process. The result is an approved version linked to its publication request, with any required changes resolved.
Four steps move the asset toward launch:
- Choose reviewers: Route by asset type and subject. A pricing claim may need a different reviewer from an ordinary social post.
- Collect decisions: Ask each reviewer to approve, request changes, or reject the asset using a consistent review form. Require a specific comment for each requested change. Keep comments attached to the relevant version so the writer can distinguish current feedback from notes on an older draft.
- Return revisions: Notify the writer of required changes and send the revised version through the remaining review steps.
- Queue the approved asset: Add the final file and launch date to the publishing queue only after the required reviewers record their approvals. Give the publishing team one list of ready assets. Keep the approval record attached so they can verify that the scheduled version matches the version reviewers signed off on.
A revision after approval should reopen the relevant checks.
5. Monthly sales report
A monthly sales report workflow gathers CRM data after the reporting period ends and distributes a consistent summary. The schedule is its trigger. Running it on the first business day of the next month avoids presenting an unfinished month as final.
Three steps produce the report:
- Pull the records: Export won, lost, and open deals for the defined period. Include the reporting timezone and extraction time.
- Calculate the metrics: Use agreed definitions for closed revenue, win rate, and average deal size. Distinguish booked sales from collected cash.
- Share the summary: Post the report with links to the underlying records. Flag missing values or late updates for the report owner.
AI can summarize changes, but a proposed explanation needs evidence. Link any explanation for a revenue drop to the deals behind it.
What is HR workflow automation?
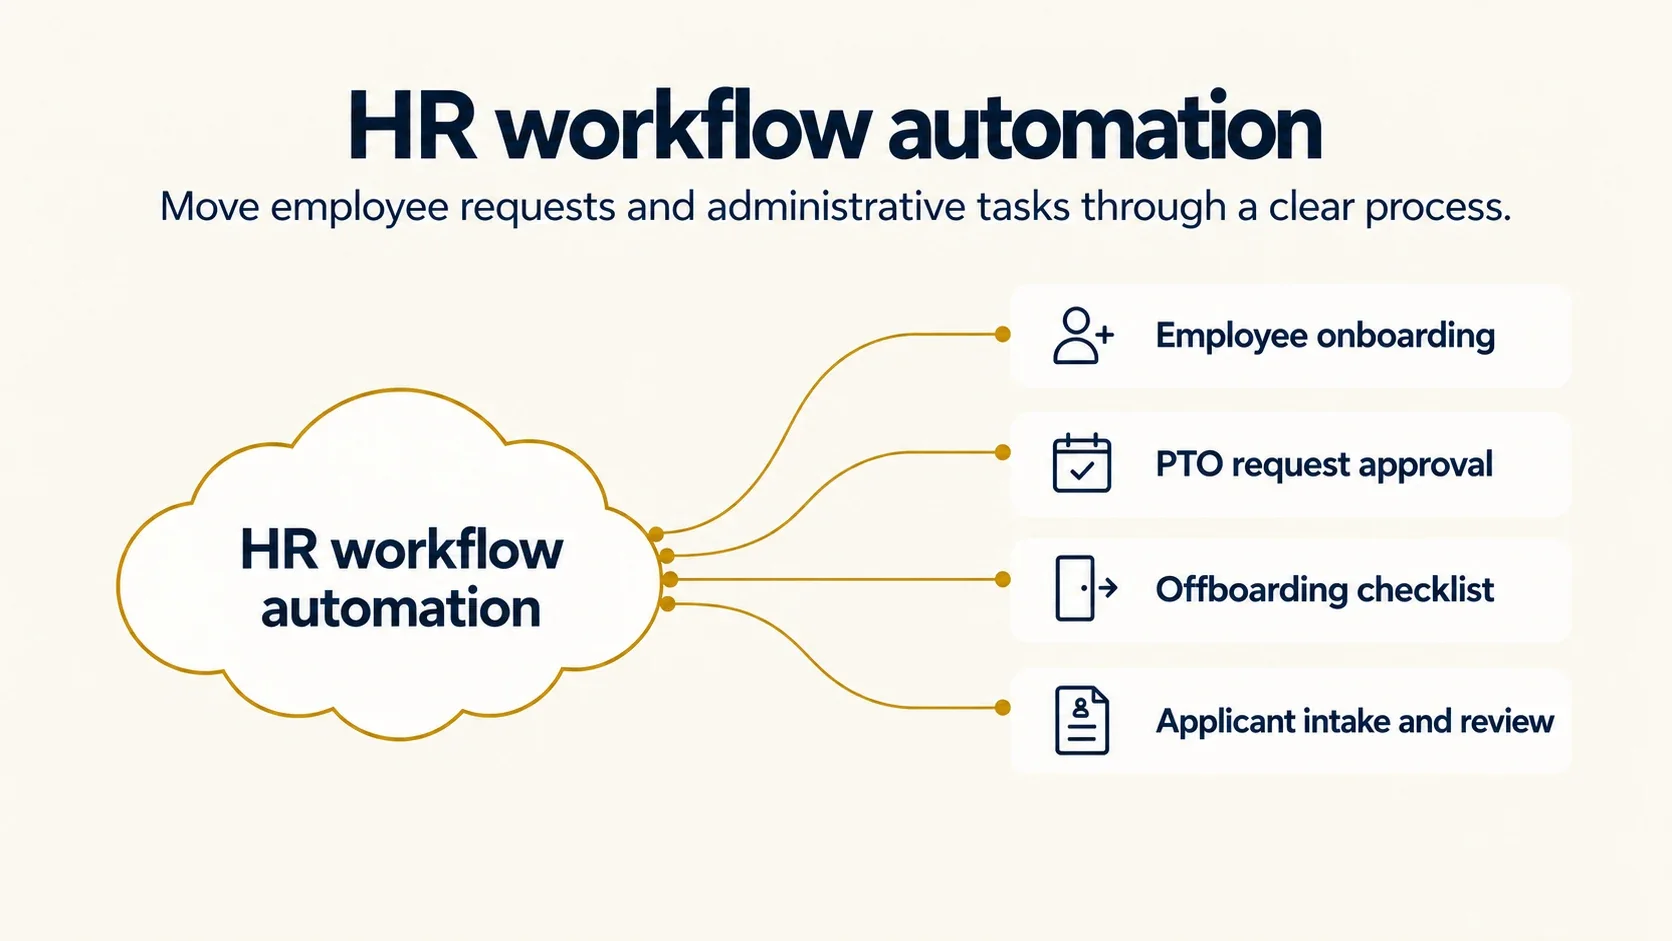
HR workflow automation moves employee requests and administrative tasks through a defined process. An approved hire can start onboarding tasks, while a leave request goes to the employee's manager. The software records decisions and updates connected systems. HR, managers, and recruiters still handle exceptions and make the employment decisions that require their judgment.
Here are examples of HR workflow automation:
6. New employee onboarding
Onboarding automation creates the tasks and information a confirmed new hire needs before starting. An approved hire record triggers the process. It coordinates HR, the manager, and IT, while account access follows the separate provisioning controls in example 15.
The workflow follows four steps:
- Open the checklist: Use the role, start date, manager, and location to create the relevant onboarding tasks and owners.
- Request equipment: Send IT the approved equipment request and delivery deadline. Keep shipping details in the appropriate restricted system.
- Share the schedule: Send the new hire their first-week plan, key contacts, and any forms they need to complete. Include check-ins with the manager and HR, each with a clear purpose. Schedule company and team channel invitations for the approved start date.
- Track readiness: Schedule check-ins and flag overdue equipment or access tasks to the responsible owner before the start date.
Use secure account invitations rather than emailing passwords. Confirm that equipment arrived and access works before the start date.
7. PTO request approval
A paid time off workflow gathers the information a manager needs to decide on leave. An employee's submitted request starts the process. Approval remains a recorded decision, with balance and calendar updates following the company's leave policy.
The request passes through four steps:
- Check the dates: Compare the requested period with the leave balance and team calendar. Check relevant coverage requirements or blocked periods under the company's policy. Flag overlaps so the manager can assess coverage before approving, rather than learning about a conflict afterward.
- Route the request: Send the manager the dates, relevant policy details, and any coverage concerns. Remind them if the decision is overdue.
- Record the decision: Save the approval or rejection in the HR system. Apply the balance adjustment according to policy.
- Notify the employee: Share the result and any next steps. Add approved absence dates to the team calendar without exposing private explanations.
If the employee changes or cancels the request, update both the leave record and calendar entry.
8. Offboarding checklist
Offboarding automation schedules exit tasks after HR approves an employee's departure details. Some tasks happen before the final day; HR and IT authorize access changes. Check the result in each system before closing the checklist.
Five tasks make up the checklist:
- Schedule access removal: Disable supported accounts and revoke relevant sessions at the approved time. Assign unsupported systems to an IT owner.
- Coordinate equipment returns: Send instructions for returning the laptop, badge, and other assigned devices. Include a prepaid shipping label if the company provides one for remote employees. Track the shipment and ask IT to check each returned item against the equipment record before closing the task.
- Arrange the exit interview: Offer a meeting during the notice period when appropriate. Restrict access to the responses.
- Transfer work records: Reassign active files and preserve required records under the company's retention policy before deleting accounts.
- Notify payroll: Send the approved final date and relevant leave information for payroll review and processing.
Before closing each task, confirm in every connected app that access is gone. Confirm the result in each connected application.
9. Job applicant intake and recruiter review
Applicant intake automation organizes new applications and prepares them for a recruiter. It can extract submitted qualifications and flag missing information. The result is a reviewable record, with hiring decisions left to the recruiting team.
Each application passes through four steps:
- Capture the application: Save the resume, application answers, and role applied for in the applicant system. Check for an existing application before creating a duplicate. Link the application to the correct vacancy so the recruiter reviews the candidate against that role's approved requirements.
- Extract relevant details: Pull stated skills and experience into structured fields. Keep the original resume available for comparison.
- Flag review questions: Highlight missing answers or qualifications that need verification. Do not treat an extraction error as proof that a qualification is absent.
- Acknowledge receipt: Confirm the application arrived and explain the expected process. Assign the recruiter a review task.
This is a stronger starting point than automatically rejecting applicants based on an opaque score. Recruiters need to inspect the evidence behind any recommendation.
What is finance workflow automation?
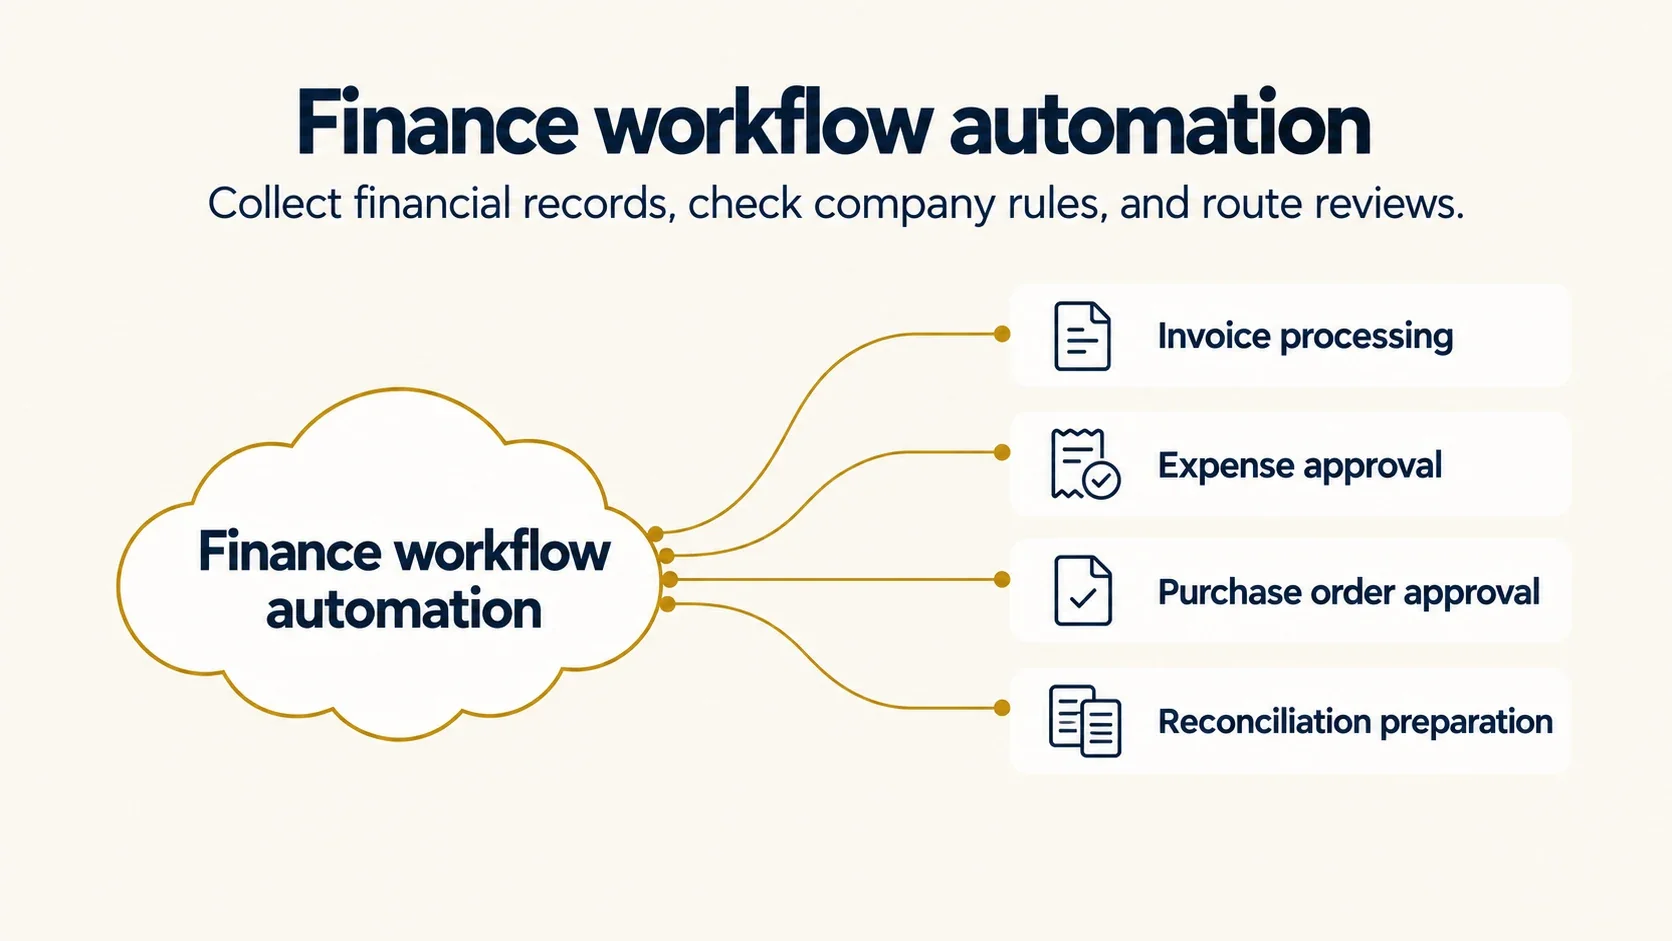
Finance workflow automation collects financial records, checks them against company rules, and sends them to the right reviewer. It can capture invoice details, route expense approvals, and prepare reconciliation reports. Finance teams define spending limits and handle exceptions. Payment approval, payment execution, and payment confirmation remain separate steps, each with its own record.
Here are some examples of finance workflow automation:
10. Invoice processing
Invoice processing automation captures incoming bills and prepares them for approval. An invoice arriving in the accounts payable inbox can start the workflow. The result is a checked payable record or an exception assigned to finance, rather than an automatic promise of payment.
The invoice moves through five steps:
- Extract the fields: Capture the vendor, invoice number, amount, currency, and due date. If the tool supports reading scanned PDFs, check unclear extracted fields against the original file. Fill a draft payable record and flag incomplete values so finance can correct them before approval.
- Check for duplicates: Compare the invoice with existing records before creating a new bill or requesting payment. Use the vendor and invoice number together, and also check the amount and currency. Route suspected duplicates to finance rather than submitting them twice.
- Match the purchase: Compare the bill with its purchase order and receipt information where applicable. Check quantities and unit prices against the team's approved tolerance. A higher unit price or missing receipt should create an exception with the supporting records, giving finance enough context to investigate.
- Request approval: Send the supporting records to the authorized approver. Submit approved bills to the established payment process.
- Confirm payment status: Update the accounting record and notify the vendor only after the payment system reports the relevant status.
Changed vendor bank details need separate verification. Verify changed vendor bank details separately, even when the PDF extraction looks clean.
11. Expense approval
Expense approval automation checks submitted reports for policy issues and routes them to an authorized reviewer. It can catch missing receipts before a manager opens the request. The recorded decision then feeds the reimbursement process.
The workflow follows four steps:
- Check the submission: Compare amounts, receipts, dates, and categories with the company's expense rules. A daily meal limit or approved hotel policy can supply the conditions. Flag missing receipts and return incomplete items to the employee before routing the report to a manager for a decision.
- Route for review: Send the manager the report with any policy flags and the employee's explanation.
- Record the decision: Save approved and rejected amounts, the reviewer's name, and the reason for any adjustment.
- Prepare reimbursement: Sync approved expenses to the accounting system and payment queue. Notify the employee once finance confirms the payment date.
Update the employee's status only when the payment record shows the money went out. Keep the employee's status update tied to the actual payment record.
12. Purchase order approval
Purchase order approval automation routes spending requests according to the company's authority limits. Submission starts the process. The authorized buyer issues the purchase order after approval. If a reviewer rejects the request, the requester receives the reason.
Four steps handle the request:
- Validate the details: Require the vendor, amount, currency, budget code, and purchase purpose before starting approval.
- Apply the approval limits: Send the request to the manager and any additional budget owner required for that amount.
- Record each decision: Keep approvals, rejections, comments, and supporting documents together with the approver's name and decision time. Notify the requester after each approval stage. Remind owners about overdue decisions so the requester can follow progress without chasing separate email threads.
- Issue after approval: Generate or release the purchase order once all required approvals are complete. Notify the requester of the result.
For illustration, a company could require finance approval above $5,000. The threshold must come from its policy.
13. Monthly reconciliation preparation
Reconciliation preparation gathers transactions and proposes matches before an accountant closes the period. A monthly schedule starts the workflow. The output is an exception list with source records.
Four steps prepare the review:
- Collect the records: Pull bank and accounting transactions for the same period, accounts, and currencies. Note when each source was last updated.
- Propose matches: Compare identifiers, amounts, and dates using the accountant's rules. Allow for settlement timing and grouped transactions.
- List exceptions: Show unmatched entries, duplicates, and proposed differences with links to both systems. Keep the full export available.
- Assign the review: Send the accountant the exception report and close deadline. Record adjustments only through the approved accounting process.
A bank feed may arrive late. Recheck the source status before treating a missing transaction as an accounting error.







What is IT workflow automation?
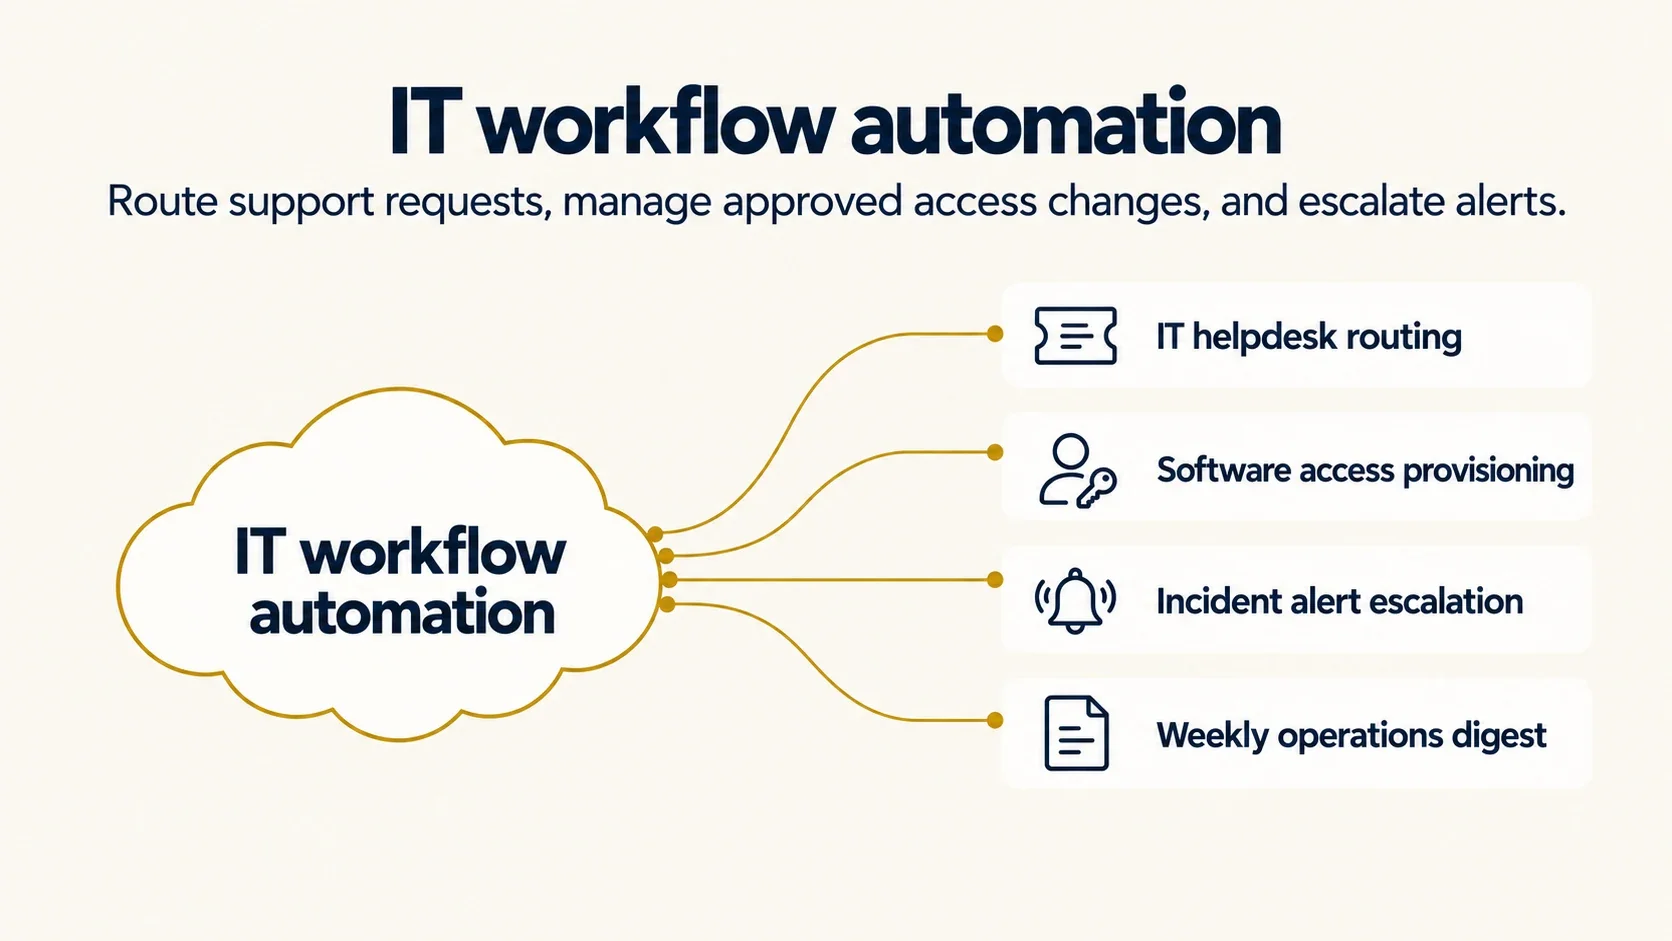
IT workflow automation routes support requests, manages approved account changes, and escalates system alerts. A ticket, employee role change, or monitoring event can start the process. The software follows the team's rules, records completed actions, and flags failures. IT staff resolve technical issues and verify changes that connected systems can't complete or confirm.
Here are the IT workflow automation examples:
14. IT helpdesk request routing
Helpdesk routing turns an employee's request into an assigned ticket. A portal submission or designated chat message starts the process. The employee receives a reference number and response target, while the IT team receives enough context to begin triage.
Routing follows four steps:
- Classify the request: Use submitted fields or message content to identify hardware, access, or other support needs. Send unclear cases to general triage.
- Assign the team: Route to the group responsible for that service. Preserve the employee's original description and attachments.
- Set the priority: Apply impact and urgency rules. A laptop failure affecting one employee may receive normal priority, while an outage blocking an office needs urgent attention. Put the impact details on the ticket so the receiving team can check the assigned priority and adjust it if necessary.
- Confirm receipt: Share the ticket number and the applicable response target under the service level agreement, or SLA.
An acknowledgment confirms receipt. Escalate an unassigned ticket if the routing step fails.
15. Software access provisioning
Access provisioning creates or adjusts accounts after an approved hire or role change. It needs supported application connections and the appropriate administrator permissions. The identity system applies the approved role permissions and sends failed or unsupported changes to IT.
Five steps handle the change:
- Detect the approved event: Read the effective date and role from the employee system. Avoid triggering on an unapproved draft change.
- Compare permissions: Check the new role's access requirements against existing accounts. Identify obsolete permissions as well as missing ones.
- Request approval: Route sensitive access to the application owner before granting it. Record the reason and the approving person.
- Apply supported changes: Create, update, or disable accounts through the identity system. Keep manual tasks for applications it can't manage.
- Verify and notify: Check the provisioning status, flag failures, and send secure login instructions to the employee.
Microsoft Entra documents both automatic and manual provisioning modes. Confirm each application's support before assuming it belongs in the automated path.
16. Incident alert escalation
Incident escalation routes a qualifying alert through the on-call policy until someone acknowledges it or the escalation rules end. Monitoring creates the alert. The workflow tracks ownership and response activity while engineers investigate the underlying issue.
Five steps handle the alert:
- Evaluate severity: Check the affected service, impact, and alert rules. Group related alerts where supported to avoid duplicate incident tickets.
- Open the incident: Save the alert details, affected system, and start time. Link subsequent updates to that record.
- Notify on-call staff: Contact the scheduled responder. If the acknowledgment deadline passes, escalate to the next configured target.
- Share status: Post the incident and assigned owner to the appropriate internal channel. Avoid publishing an unverified cause.
- Record the timeline: Preserve acknowledgments, actions, and resolution details for the incident review.
PagerDuty distinguishes acknowledgment from resolution. Acknowledgment stops further escalation under the policy. Resolution is a separate, later status.
17. Weekly operations digest
An operations digest collects open issues into a scheduled summary. A Monday morning run, for example, can show blocked tasks, aging tickets, and unresolved incidents. The result is a linked list of work requiring attention, organized for the operations team.
Three steps produce the digest:
- Gather the work: Pull the agreed queues from the helpdesk, incident system, and project tracker. Include each item's owner, age, and current status.
- Highlight changes: Group by urgency and identify new blockers or overdue work. Compare with the previous report where useful, such as showing a rise in open tickets. Keep resolved issues separate from active incidents, and link any proposed explanation to the underlying records.
- Post the summary: Share the digest in the operations channel with direct links. Label unavailable sources rather than silently leaving them out.
This differs from example 30, which summarizes a small team's weekly task progress. The operations digest focuses on service health and unresolved operational work.
What is customer service workflow automation?
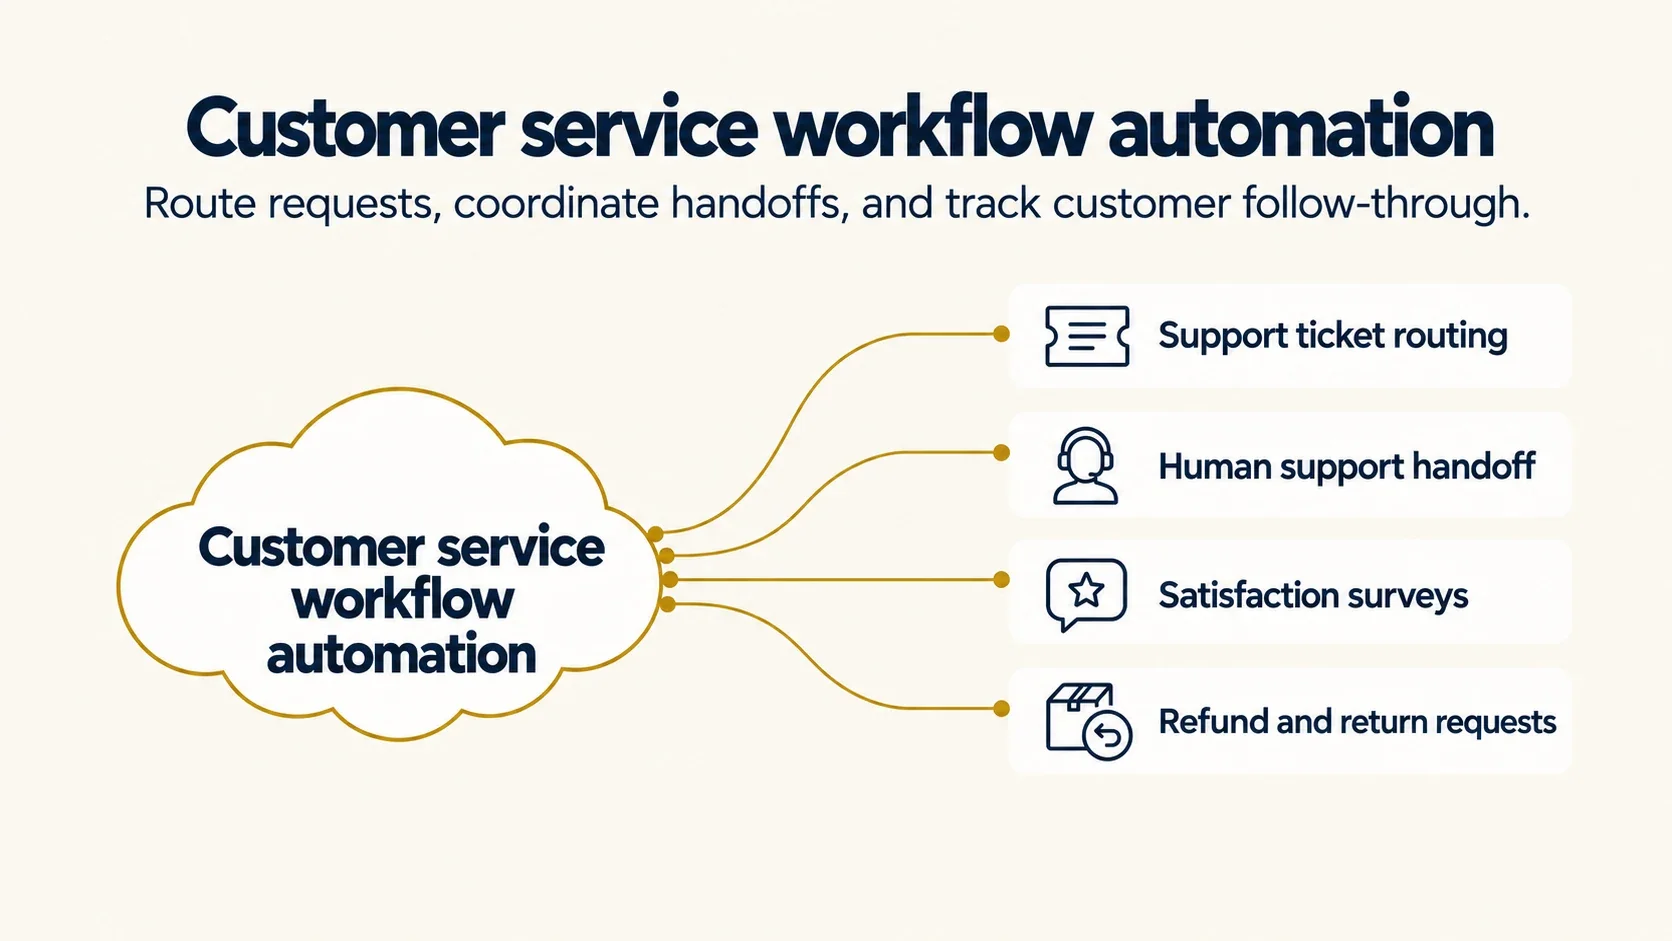
Customer service workflow automation organizes requests and handles routine follow-through as tickets move through support. It can assign a billing inquiry, send a receipt, escalate a conversation, or request feedback after resolution. Support teams define response targets and review points. Reps handle disputed requests, missing details, and issues that require human judgment.
Here are the top customer service workflow automation examples:
18. Support ticket routing
Support ticket routing directs customer inquiries to the right queue based on topic, account context, and urgency. Email, chat, or form submissions can start it. The outcome is an assigned ticket with a response target and the original request attached.
Four steps organize the request:
- Identify the topic: Classify billing, shipping, technical issues, or other categories. Use a general queue when the message is ambiguous.
- Apply routing rules: Send the ticket to the appropriate team or support tier. Preserve existing account ownership where relevant.
- Set the response target: Apply the customer's service agreement and priority rules. Warn the owner as the response deadline approaches.
- Acknowledge receipt: Give the customer a ticket number and next steps. Avoid promising a resolution time that the team has not committed to.
Recheck the assignment after a customer adds new information. An initial label shouldn't prevent a ticket from reaching a specialist later.
19. Escalation to a human support rep
A handoff workflow transfers an automated support conversation to a person when the customer requests help or the answer needs review. The result should preserve context and establish ownership. It may queue the conversation if a qualified rep is unavailable.
Four steps make the handoff useful:
- Detect the handoff point: Respond to an explicit request for a person, repeated failed answers, or an issue outside the assistant's approved scope.
- Select a destination: Route to a qualified rep or queue. Tell the customer whether someone is available or when to expect a response.
- Transfer context: Attach the conversation, relevant order details, and attempted fixes. Include a short summary above the transcript so the rep can orient themselves before reading the full history. Label AI-generated summaries and keep the source messages accessible so the rep can check what happened.
- Track acceptance: Update the ticket owner and escalation status. Remind the team if nobody accepts the handoff.
Passing the transcript reduces repetition, but the rep may still need to confirm missing or conflicting details.
20. Post-ticket satisfaction survey
A satisfaction survey workflow asks for feedback after a rep marks a support issue resolved. The ticket's status change begins the waiting period. Responses attach to the ticket so managers can review the interaction in context.
Four steps collect the feedback:
- Wait and recheck: Use the team's chosen delay, then confirm the ticket has not reopened before sending the survey.
- Send the survey: Ask a clear rating question and offer an optional comment field. Respect contact preferences and survey exclusions.
- Record the response: Save the rating and comment against the ticket and its handling history. Group responses by topic, team, or reporting period to spot recurring concerns. Keep the source ticket attached, and distinguish missing responses from low scores when interpreting the results.
- Route concerns: Send low ratings to the manager with the conversation attached. Assign follow-up rather than assuming it happened.
Zendesk's documented default sends CSAT surveys 24 hours after a rep sets a ticket to Solved. It uses Solved status rather than Closed status. Other systems and configurations can use different timing.
21. Refund or return request
A returns workflow gathers order details, checks policy conditions, and routes the request toward a decision. A customer request starts it. Eligibility, return receipt, inspection, and refund payment should remain separate statuses.
Four steps coordinate the process:
- Find the order: Verify the customer and relevant purchase. Check the return window, item condition, and whether a refund already exists.
- Apply the policy: Prepare a decision for eligible cases within the approved scope. Route damage claims, missing details, and disputed cases to support.
- Send next steps: Share return instructions or an explanation of the decision. Provide a label only when the return process supports it.
- Confirm the outcome: Update the order after the required receipt or inspection checks. Record the refund status after payment confirmation.
Shopify Flow supports return-status triggers. Track the refund as its own status once the store issues it. Confirm the actions your store setup supports.
What is AI workflow automation?
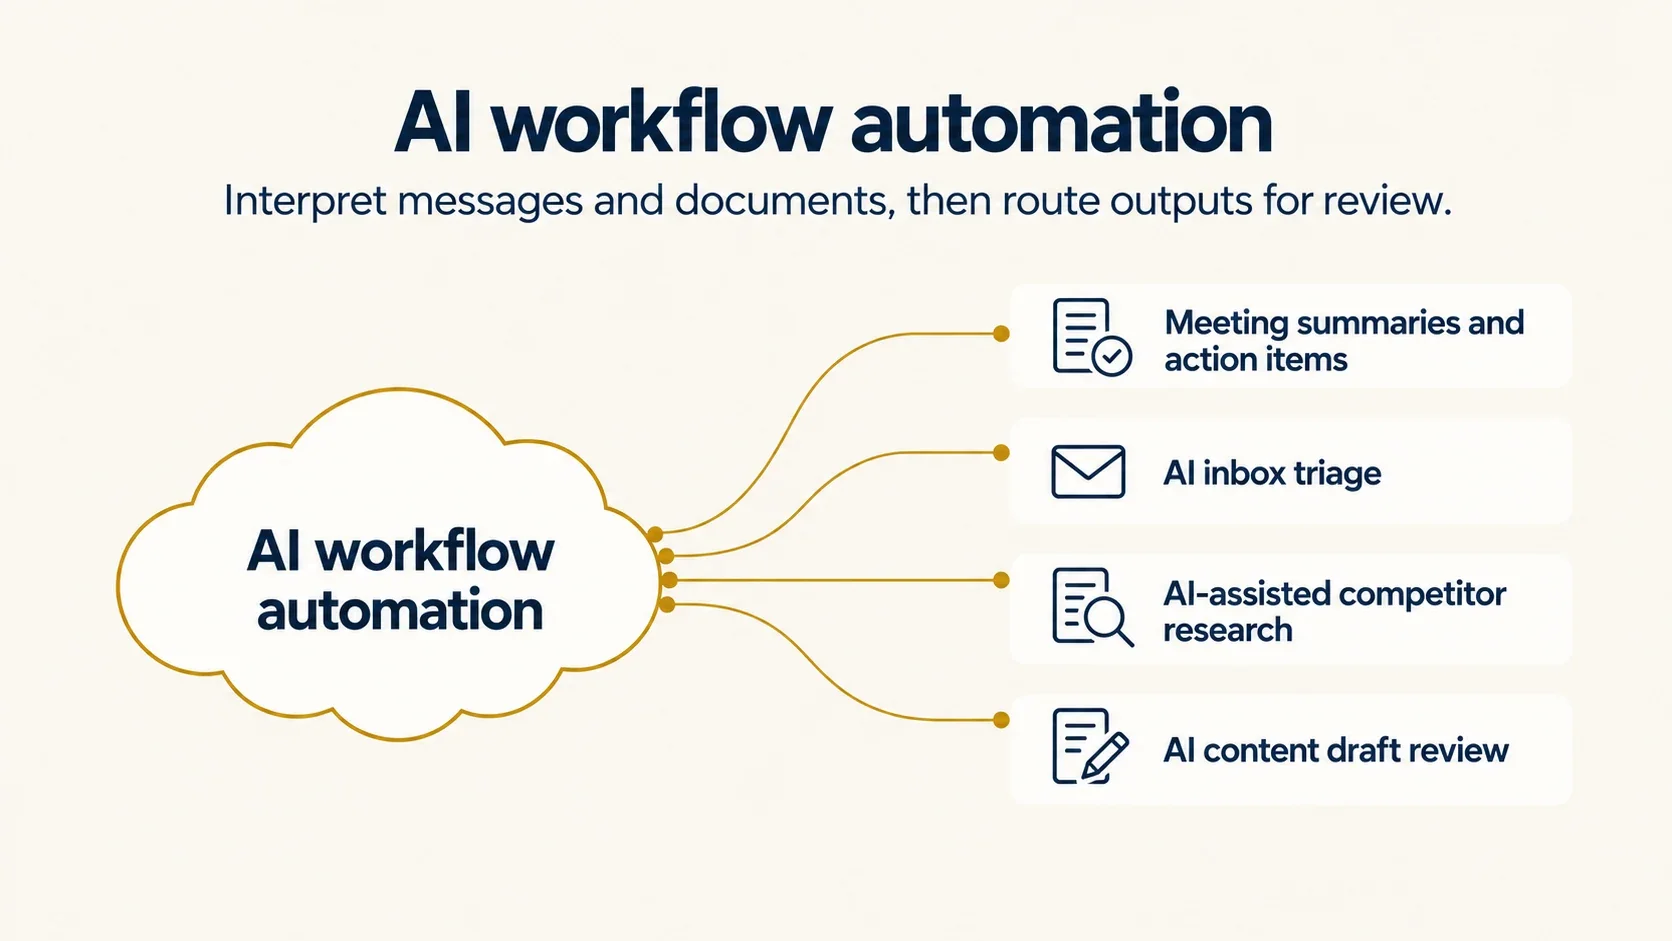
AI workflow automation uses AI to interpret emails, transcripts, or documents within a larger process. An AI step can identify a message's topic, summarize a meeting, or suggest a reply. Rules then determine where that output goes and who reviews it. Teams check uncertain answers and keep approval points beside actions that need oversight.
Here are some AI workflow automation examples:
22. Meeting summaries and action item routing
A meeting-summary workflow turns a permitted recording or transcript into notes and proposed tasks. The meeting ending can trigger it. The result is a summary linked to its source, with confirmed owners and dates for follow-up work.
Four steps turn the discussion into a handoff:
- Capture the meeting: Use an approved recording or transcript source with the required participant notice and permission. Confirm the recording succeeded.
- Summarize decisions: Separate decisions, open questions, and proposed next steps. Save the transcript and recording where authorized, with access restricted to the intended audience. Keep source timestamps where available so someone checking a quote or commitment can return to the relevant part of the call.
- Review assignments: Extract named owners and deadlines. Flag vague commitments instead of inventing an owner or due date.
- Create the tasks: After the appropriate review, add tasks to the connected project tool and link back to the meeting.
Lindy supports meeting notes and follow-up work across connected tools. Ask it to identify action items, then confirm unclear commitments before assigning them.
23. AI inbox triage
Inbox triage labels incoming messages and prepares replies for those that need a response. New email triggers the workflow. The owner gets a clearer review queue, while draft handling follows the assistant's settings.
Three steps organize the inbox:
- Classify the message: Use the owner's instructions to identify urgent requests, information-only messages, and newsletters. Keep uncertain cases visible.
- Prepare a response: Draft using the email thread and approved context. Apply the owner's instructions on tone, formality, and length, so a quick colleague reply can differ from a customer response. Leave unsupported promises, prices, or delivery commitments for the owner to confirm.
- Review before sending: Keep replies as drafts in a review-first setup. The owner edits, sends, or discards them and corrects misclassified messages.
Lindy's documented email-drafting routine saves replies for review and sending. Its Gmail Chrome extension also supports editing drafts in the inbox.
24. AI-assisted competitor research
Competitor research automation collects public product information and prepares a sourced comparison. A request or monitoring schedule can start it. The useful result is a brief whose claims link to readable evidence and show when the researcher checked the information.
Four steps produce the brief:
- Define the question: Specify the competitor, market, and comparison points. Pricing research should distinguish billing periods and currencies.
- Collect evidence: Read official pricing, product documentation, and release pages. Use authorized internal notes separately as customer context.
- Check the findings: Keep source URLs and review dates. Flag contradictions or inaccessible pages instead of filling gaps with estimates.
- Share the summary: Organize findings under the requested headings, such as pricing, features, and recent changes. Link each material claim to its evidence. Save or share the brief in the intended research folder or channel, and ask a reviewer to check decision-critical claims before the team uses them.
An AI summary can repeat an outdated page confidently. A citation is useful only if the linked source supports the claim beside it.
25. AI content draft review
AI draft review compares submitted content with a written style guide before editorial review. A Ready for review status can trigger it. The output is a specific fix list, leaving the editor responsible for factual accuracy, argument, and publication decisions.
Three steps prepare the feedback:
- Load the right rules: Read the current publication or client guide alongside the draft. Identify missing reference documents before judging compliance.
- Quote each issue: Include the exact passage, the relevant rule, and a proposed replacement. A heading in the wrong case should come with the corrected heading beside it. Use headings or paragraph references when line numbers are unstable, giving the writer a reliable way to find each issue.
- Return a focused list: Separate required corrections from optional suggestions. Let the writer resolve mechanical issues before the editor reviews the revised draft.
Product claims still need a check against the source, even when the sentence sounds polished.
What is small business workflow automation?
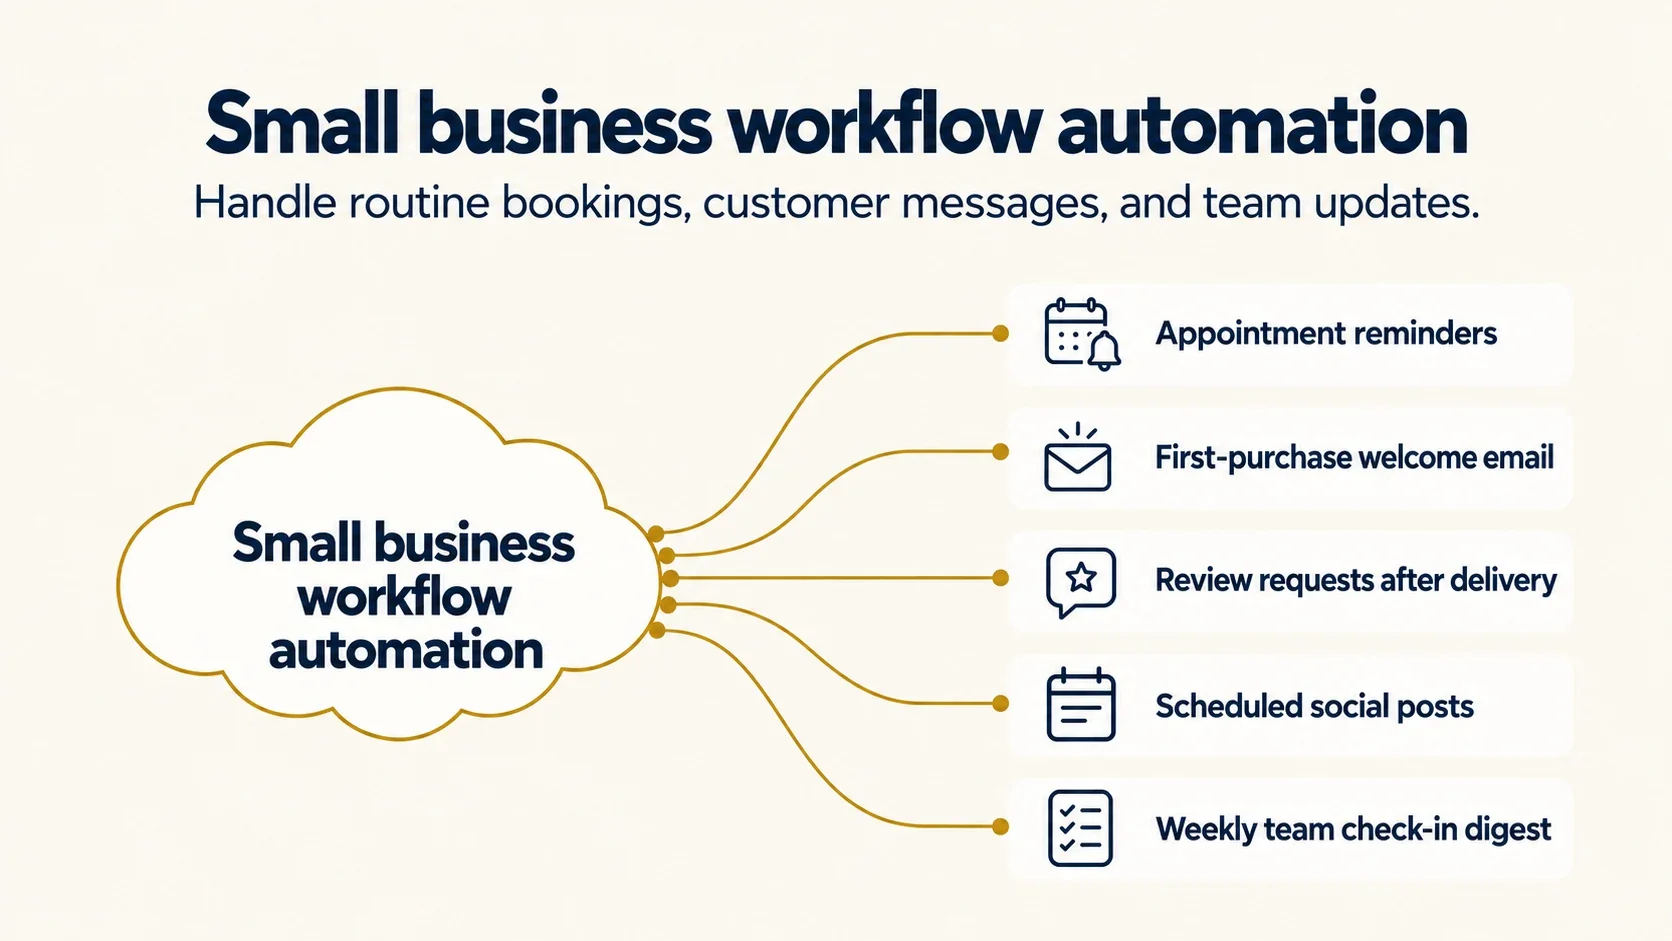
Small business workflow automation handles repeatable tasks such as appointment reminders, welcome emails, and weekly task summaries. A booking, purchase, or schedule starts the work. Connected tools then carry out the configured steps and record the outcome. The owner sets the rules, checks exceptions, and reviews messages or actions that need a decision.
The top small business workflow automation examples:
26. Appointment reminders
An appointment reminder workflow schedules a message before a confirmed booking. A new booking creates the reminder, and later changes update it. A 24-hour reminder is one possible setting, rather than a requirement for every business.
The workflow follows three steps:
- Read the booking: Capture the date, timezone, contact details, and service. Check which reminder channel the customer has agreed to use.
- Recheck before sending: Confirm the appointment still exists and has not moved. Cancel the old reminder when the booking changes.
- Send the details: Include the appointment time and any supported cancellation or rescheduling link. Log delivery failures for the booking owner.
A reminder should reflect the current booking. Otherwise, a rescheduled customer could receive messages for both the old and new appointment.
27. Welcome email after a first purchase
A first-purchase welcome workflow sends a useful introduction after a qualifying order. The trigger should distinguish a successful purchase from an unpaid or canceled order. The result is a relevant message sent once to the new customer.
Three steps handle the welcome:
- Confirm the purchase: Check the payment or order status required by the business. Verify that the customer qualifies as a first-time buyer.
- Choose the message: Thank the customer and explain delivery, access, or getting started. Point them to the right contact if they need help. Include a promotion only when appropriate and permitted by the customer's communication preferences, rather than making a discount the default purpose of every welcome.
- Send and record: Deliver through the approved email system and save a sent marker. Use it to prevent repeat welcomes from duplicate events.
Keep service information distinct from promotional content. A purchase confirmation and a marketing welcome serve different purposes and have different contact requirements.
28. Review request after delivery
A review-request workflow asks customers for feedback after delivery. The business chooses a delay that gives the customer time to use the product. Three days may suit some purchases, while others need longer.
Three steps prepare the request:
- Confirm delivery: Start the waiting period from a reliable delivery event. Do not use order creation as a substitute for receipt.
- Check the current order: Pause requests for undelivered, canceled, or returned purchases according to the business's rules. Avoid duplicate requests.
- Ask for feedback: Send a neutral message with the review link through an eligible channel. Follow the review platform's rules on requests and incentives.
Ask for an honest review rather than a positive rating. Avoid filtering customers by predicted satisfaction just to improve the public score.
29. Social posts from a content calendar
A publishing workflow sends approved calendar entries to supported social channels at their scheduled time. The trigger is a publication-ready entry with a date. The result should include the published link or a clear failure status.
Three steps move the post toward publication:
- Validate the entry: Require final copy, assets, destination accounts, approval, and a timezone. Check the format for each social network.
- Schedule publication: Send the approved version to the publishing tool. Use a manual reminder when the platform or post type requires it.
- Check the result: Record the published URL or notify the owner about a failed post. Check each destination separately when one calendar entry feeds several accounts. The owner can prepare posts in advance, but should still have a way to pause scheduled content when business circumstances change.
Buffer documents notification publishing for posts that need a manual publishing step. Some formats need a person to finish posting from a phone notification.
30. Weekly team check-in digest
A weekly check-in digest summarizes completed, overdue, and upcoming tasks for a small team. A Friday afternoon schedule can trigger it. The output is a brief progress update linked to the task tracker, with decisions or blockers highlighted separately.
Three steps produce the update:
- Collect task changes: Read the chosen project boards for the reporting period. Preserve owners, due dates, and source links.
- Group the update: Separate finished work, overdue items, and next week's commitments. Flag stale records instead of guessing progress.
- Share and follow up: Post to the team channel and ask owners to correct missing details. Assign a person to any blocker needing a decision.
This can shorten a status discussion. Keep the meeting for weeks when people need to settle competing priorities or make a shared decision.
How do you pick your first workflow to automate?
Choose a frequent task with clear inputs, a repeatable handoff, and an outcome you can verify. Start with a process whose mistakes are easy to spot and correct. Map the current steps before selecting software, including who handles missing information or a failed run.
Use these checks to narrow the choice:
- Repetition: Count how often the task occurs and what staff members repeat each time. A welcome email after each first purchase is a clear candidate. A rare task may still justify automation if it matters, but frequency alone shouldn't decide what to automate first.
- Clear rules: Write down the conditions that determine the next action. For example, purchases above a chosen limit go to the finance lead. If staff can't explain why a request follows one path rather than another, resolve that uncertainty before putting the decision into software.
- Available data: Check that the required fields exist in the source system and can reach the destination. A lead-routing process needs enough information to choose an owner. Missing territory data should create a review task rather than silently assign the lead to an arbitrary sales rep.
- Visible results: Define what completion means and who checks exceptions. For an appointment reminder, track whether the message was sent and whether the booking still exists. Review failed runs and duplicate messages before expanding the workflow to every booking or adding another communication channel.
To compare implementation options after mapping the process, see our guide to automation software. Check the actions and plan limits your exact setup needs before paying for a tool.
Ask Lindy to handle the routine follow-through
Of all the workflow automation examples above, I would hand off an easy-to-review one first, such as a weekly task summary. Lindy is an AI assistant you can text to get answers, complete tasks, and receive proactive updates. It works across 3,000+ integrations, including tools used for email, calendars, and customer records.

@mention Lindy to prepare you for a meeting, draft a follow-up, or check what needs your attention. Ask Lindy to summarize open tasks every Friday and link to the records that need a decision. Its routines support recurring work, while reusable skills capture instructions for tasks you want handled consistently.
Lindy can also draft email replies in your voice for you to review. For shared Slack threads, integration settings let your team require approval before Lindy writes to a connected tool. Those guardrails apply to shared Slack threads; the same settings don't cover private chats or texts.
I recommend starting with one routine, inspecting the result, and refining the instructions around the exceptions that matter to your work. Lindy has a free plan with $50 in credits, and paid use starts at $49.99/month per active user on the Team plan.
FAQs about workflow automation
How is workflow automation different from automating a single task?
Workflow automation coordinates a process with a trigger, actions, decision points, and a defined result, while task automation handles one activity, such as sending a reminder. A workflow might check a booking, schedule its reminder, update that reminder after a change, and record whether the message was sent. The distinction is the connected process.
How do I write a process workflow?
Start by listing the trigger and result, then write each action in between. Give every decision a clear rule and every exception an owner. Include approvals, missing information, and failed steps. Walk through a normal case and an unusual case before configuring the software, then test that the recorded outcome matches what happened.
What is an example of business process automation?
Invoice processing is a business process automation example. An incoming bill triggers data extraction, a duplicate check, and a match against purchasing records. The bill then goes to an authorized approver. Payment follows the company's payment process, and accounting records update after confirmation. Unclear values and mismatches go to finance for review.
Can I automate workflows without knowing how to code?
Yes, no-code tools and AI assistants let you automate supported workflows without writing code. You still need connected accounts, clear instructions, and a way to handle exceptions. For example, ask Lindy to prepare a recurring task summary. Check the required integrations and permissions before expecting a process to run across all your tools.
What should I avoid automating first?
Avoid starting with a process whose decisions are unclear or whose mistakes are hard to reverse. Begin with a reviewable output, such as a draft or internal summary. Keep people responsible for decisions about hiring, disputed refunds, and sensitive access. First establish reliable inputs, named owners, and an exception path, then expand the automated steps.
About the editorial team

Marvin is a Growth Engineer at Lindy focused on AI agents, automation, and product-led growth.

Lindy leads GTM at Lindy and is the team’s most prolific automation builder. She publishes weekly educational videos and articles on building AI assistants – And yes, she’s a real person!
